
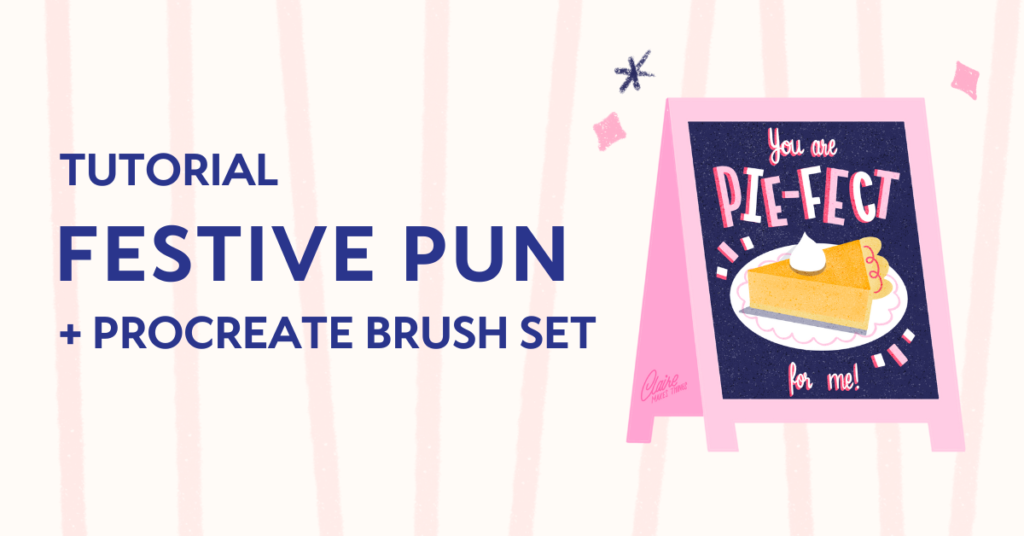
In this tutorial, we’ll create a festive greeting card in Procreate. We’ll be using the pun ‘You are Pie-fect for me’ and create a festive pie-themed card, on a mini chalkboard. We’ll follow the design created in my Fun with Puns: Mastering Lettering in Procreate class on Skillshare. Let’s get started!
Supplies
- iPad & the Procreate app
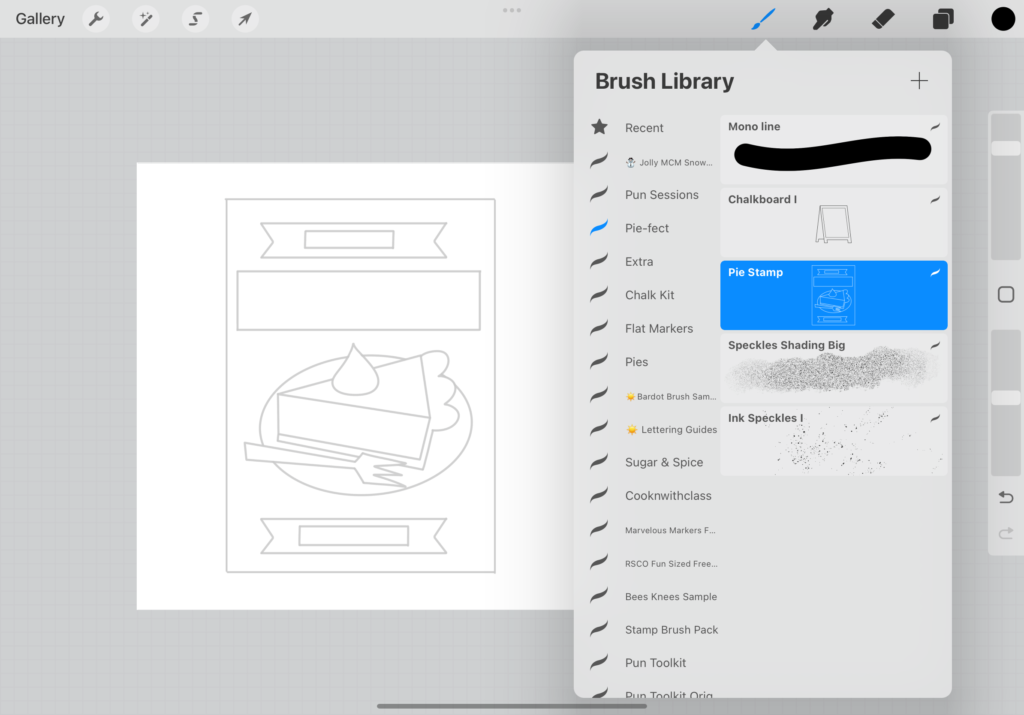
- Procreate brush set (Free download here: Pie-Fect Procreate brush set)
- Looking for a different pun for your festive greeting card? The inspiration guide (Free download here)
- Colour palette for Procreate (Free download here)
Step 1. Setting Up the Canvas
Start by opening Procreate and creating a new canvas. Set the dimensions to 2500 x 2500 pixels. This square format is more than sufficient for a greeting card and social media.
Step 2. Composition
We’ll start with our pun, ‘You are Pie-fect for me’, which is a sweet message, perfect for a greeting card, that could work for the holidays, as well as Valentine’s day. To finish this design, we’ll add a pie of your choice. To make the sketch process a bit easier, let’s use the Pie Stamp in the brush set, and use that to fill your canvas. The blocks in this composition will help us place our letters and space them out evenly. Place your stamp in the center of your canvas.
Related article: Perfect Puns: 6 Tips for Short & Sweet Lettering with Wordplay
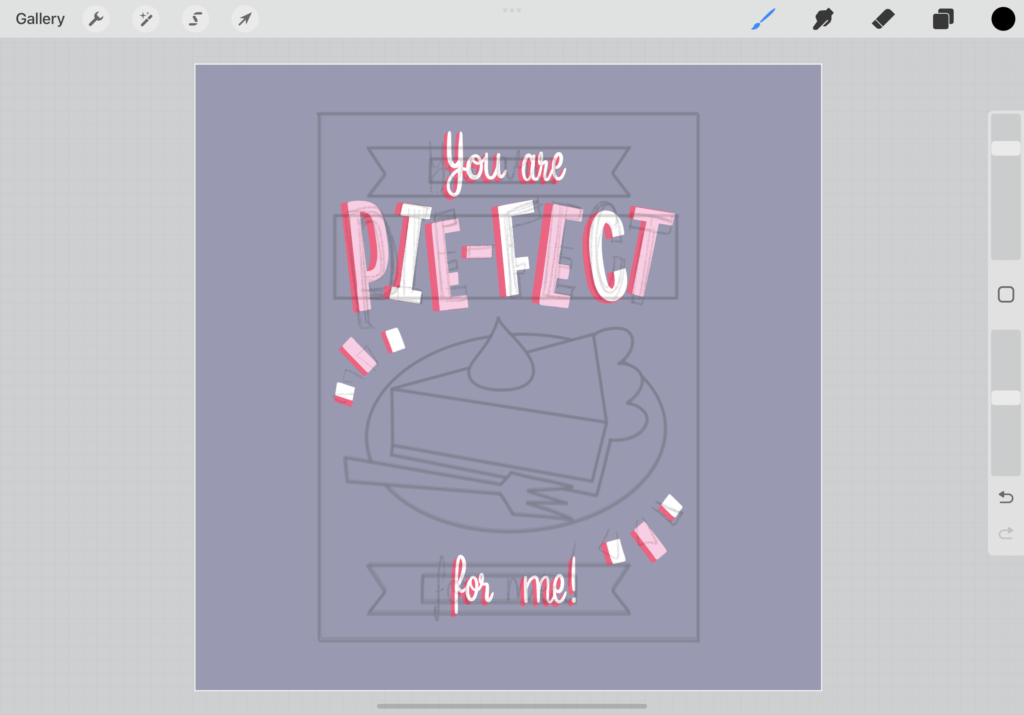
Step 3. Sketching our design
Now it’s time to finish our sketch. Use the blocks to place your letters and add details to your pie where needed. I’m placing the letters ‘Pie-fect’ in our biggest block, since this part is most important. We’re using simple block letters for this, that are legible and make for the centerpiece of our card together with our pie. Placing the letters at an angle (see below) they look slightly more naive and fun.
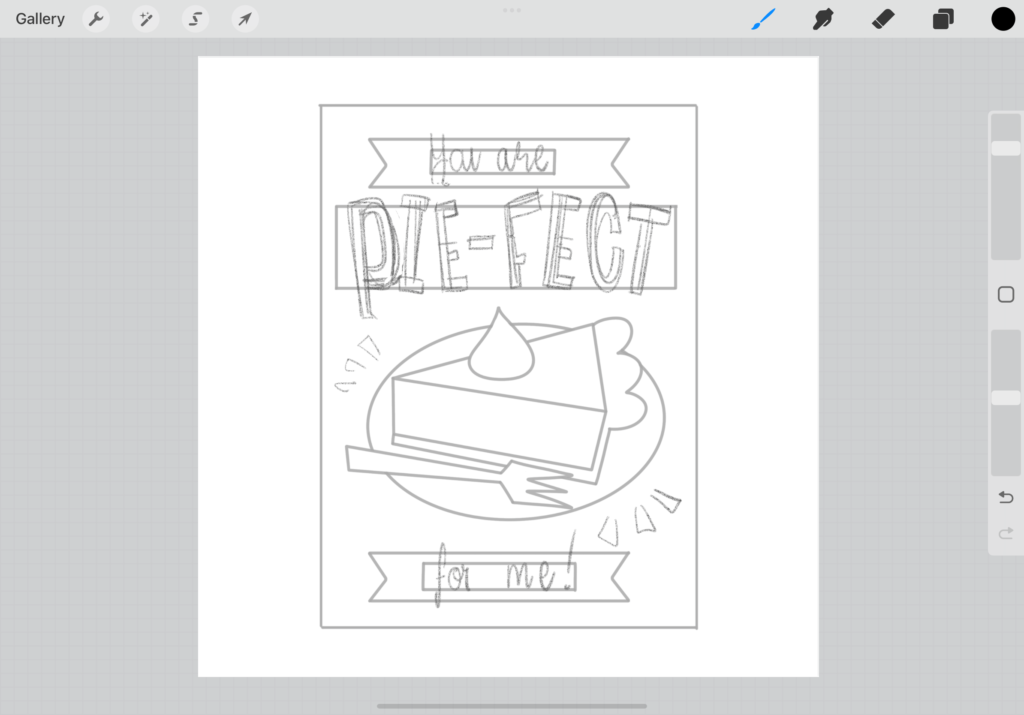
Furthermore, ‘you are’ and ‘for me’ aren’t as important and can be a bit smaller. Don’t worry if your sketch is a bit rough—this is just the foundation for our final illustration. We will start by creating this design, and later, place it on top of our chalkboard.
Step 4. Letters
With your chosen composition in mind, let’s start creating our final design. At this point, we’ll use the colour palette from the supply list above. Firstly, let’s add a dark background (I’m using a dark blue); that’ll be the base of your chalkboard. On top, our design will be light, to create a contrast. For now, let’s turn down the opacity of that layer, so we can still see our sketch layer.
If you’re using a different pie or pun, create your own color palette in this step. When choosing your colors, aim for a balance of warm and cool tones, along with light, shaded, and neutral colors. This will give your design depth and contrast. Make sure to use recognizable colours, especially in your pie. Add green and red tones to add an extra festive feel!
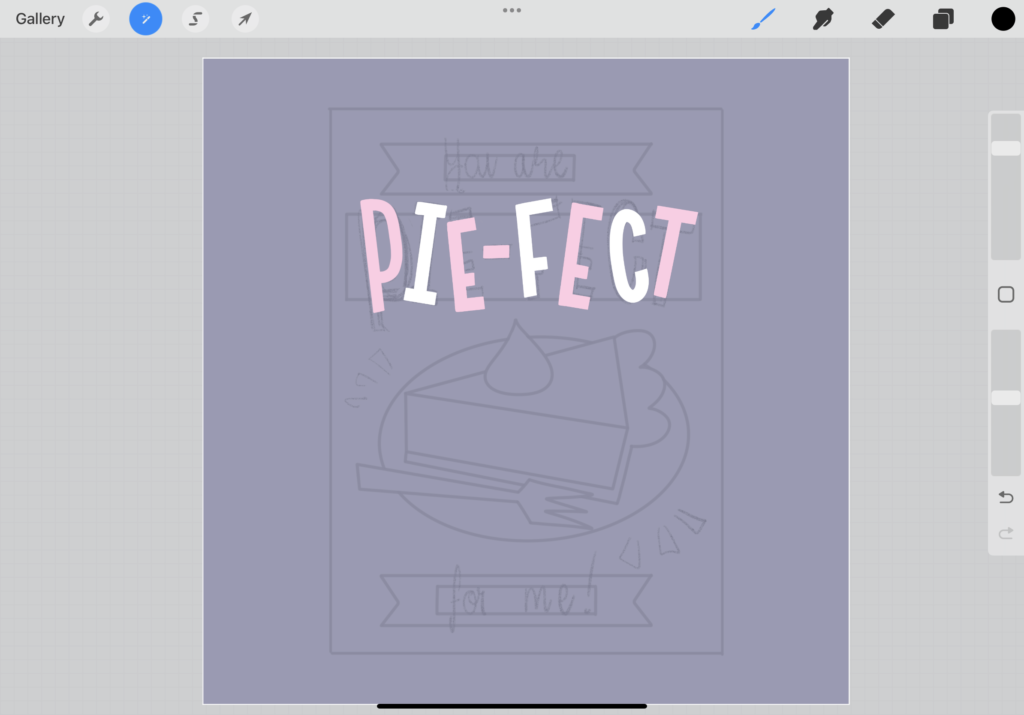
Let’s start with our ‘Pie-fect’ letters first. On a new layer, use the monoline brush to trace your block letters, in pink and white. Use the eraser to cut off the edges of your letters to create sharp ends.
Let’s turn our ‘Pie-fect’ letters into 3D letters. Duplicate your ‘Pie-fect’ layer, and fill that layer with a darker colour, perhaps red. Make sure your red layer is below your original letters, and move that layer slightly. In this case, because our letters are all placed at different angles, you want to select your letters separately and move them to the left to create the exact same effect as in the letters below. Next, use the same technique for your script lettering and the filler elements / stripes around your pie illustration.
Step 5. Illustrate our pie
Let’s illustrate our pie. I’m using different tones of orange from the colour palette to create a pumpkin pie here. Make sure to draw your pie in pieces, and place all parts on separate layers. This will make it easy to change the colours later if you need to, and add textures at a later stage. Use your dark pink to add a detail in the crust to bring back some of the colour in our letters.
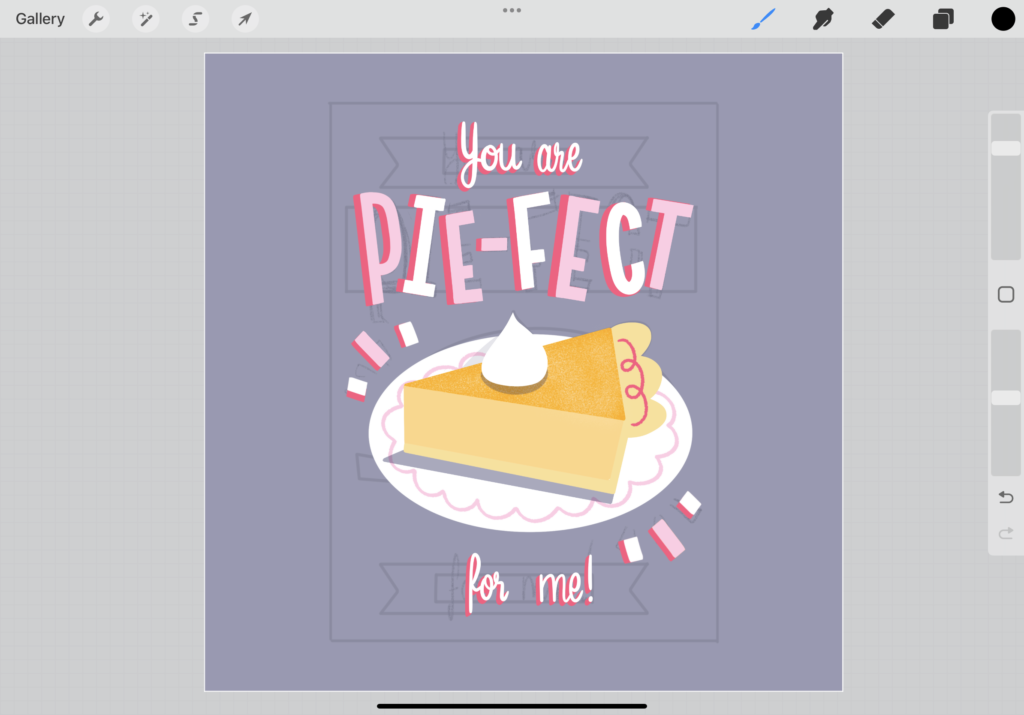
For colouring your illustration in Procreate, use simple, smooth brushes, like the monoline brush. Texture can be added later in the form of masks, clipping masks and blending modes. This will make it easier to make changes later if you want to.
Related article: My Sketch Process: ‘Reese’s Pieces’ Themed Pun Illustration in Procreate
Step 6. Adding Texture and shading
Let’s see how our final design looks by toggling off our sketch layer and turning up our dark blue layer. Now it’s time to add a bit of shading and texture. Use the ‘Speckles Shading’ brush and add clipping masks on top of the layers of your pie to add texture. You can use different tones of orange and set the blending mode to multiply to create different tones. Add shading underneath your plate by multiplying that layer, filling it with blue, and setting the blending mode to multiply.
That concludes our pie design, but we’re not quite finished yet! Now it’s time to add our design to our little chalkboard, to finish up our festive greeting card. This is a great way to finish up the piece with a bit more detail, and a fun way to deliver a pun-themed message too.
Step 7. Let’s make our chalkboard
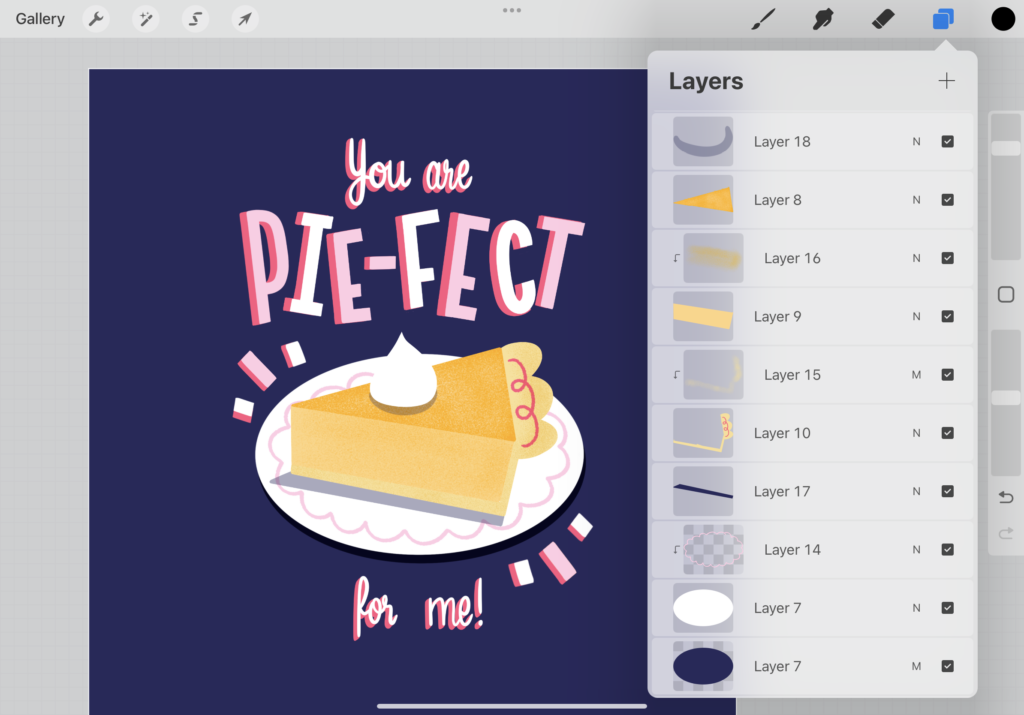
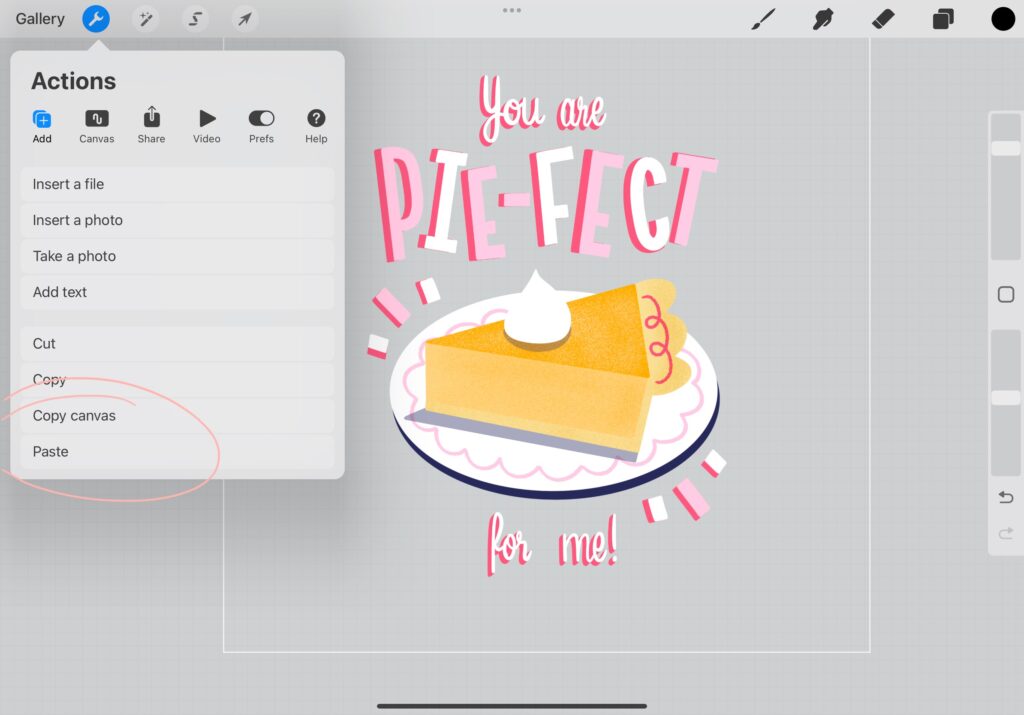
Firstly, let’s isolate and copy our pie design. Group all your layers, then, toggle off the blue layer and background. With your pie design visible, go to the wrench icon and tap ‘copy canvas’. Next, tap ‘paste’; now your grouped pie design will have a copy on one layer. This will make it much easier to place on top of our chalkboard, plus, your original design stays untouched.
Next, let’s use the ‘chalkboard I’ stamp in the brush set to create our chalkboard. Place the stamp in the center of your canvas, and fill it with your desired colour. Make sure the center of your board, the chalk part, contains our dark blue, or another dark tone.
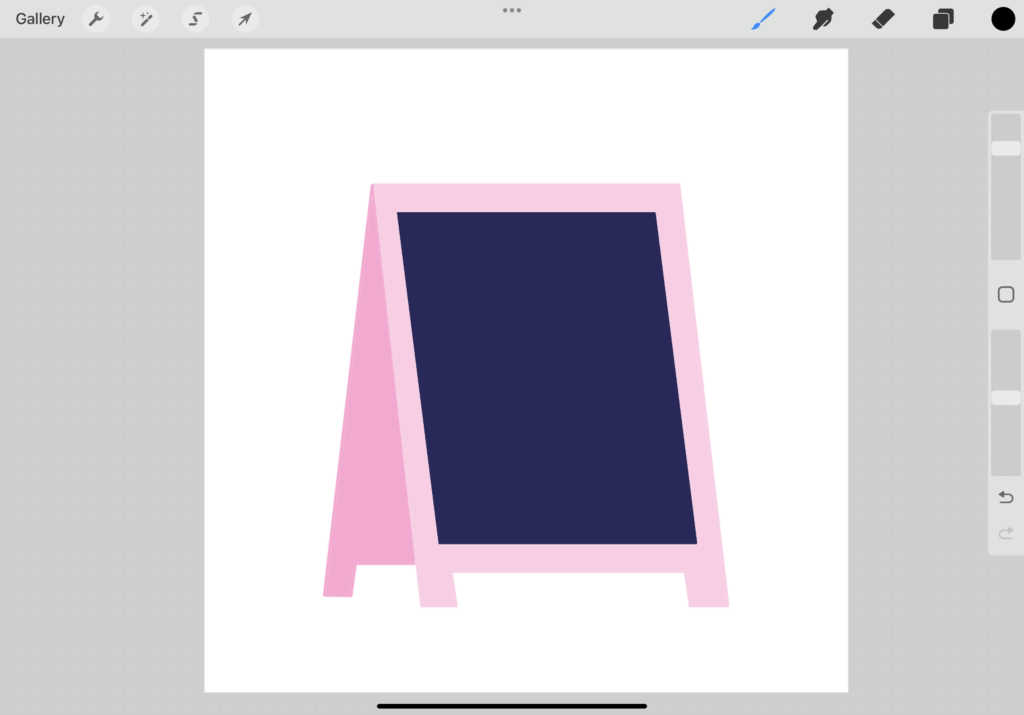
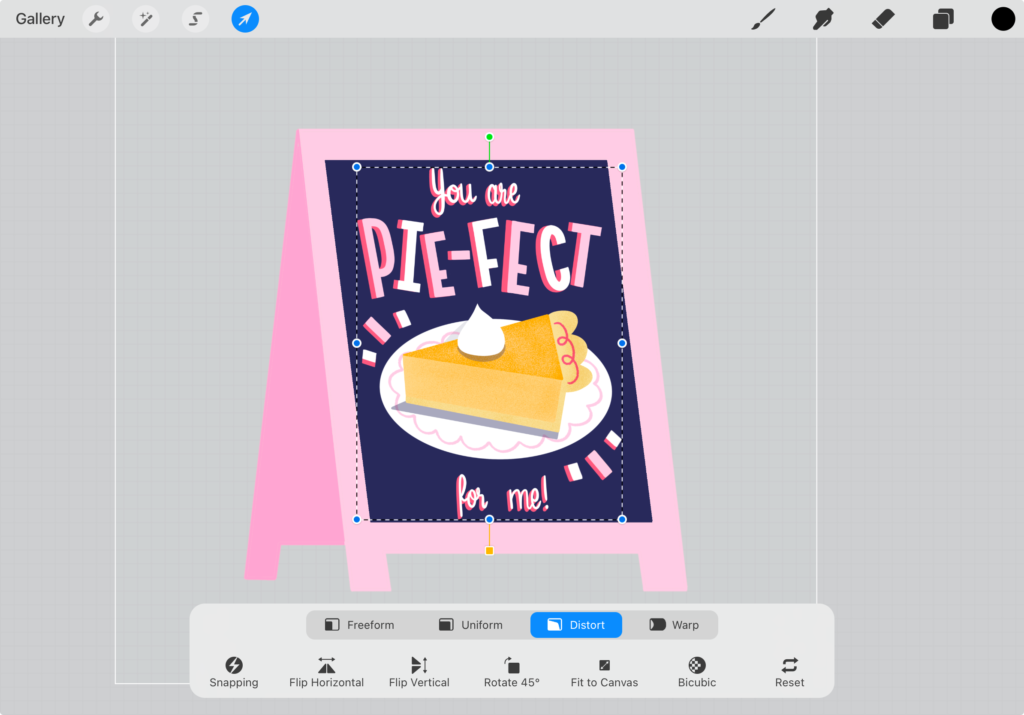
Place your pie layer on top of your chalkboard. Scale your layer down and use distort to place it at a slight angle.
Step 8. Adding Texture
This step is entirely optional, but gives our chalkboard a bit more texture! For a final touch, use the ‘Ink Speckles’ brush to add some chalklike texture to the blue of your board. Add this as a separate layer on top of your board, by selecting only your blue, and then adding the Ink Speckles on a new layer. Do this twice, to create two separate Ink Speckle layers.
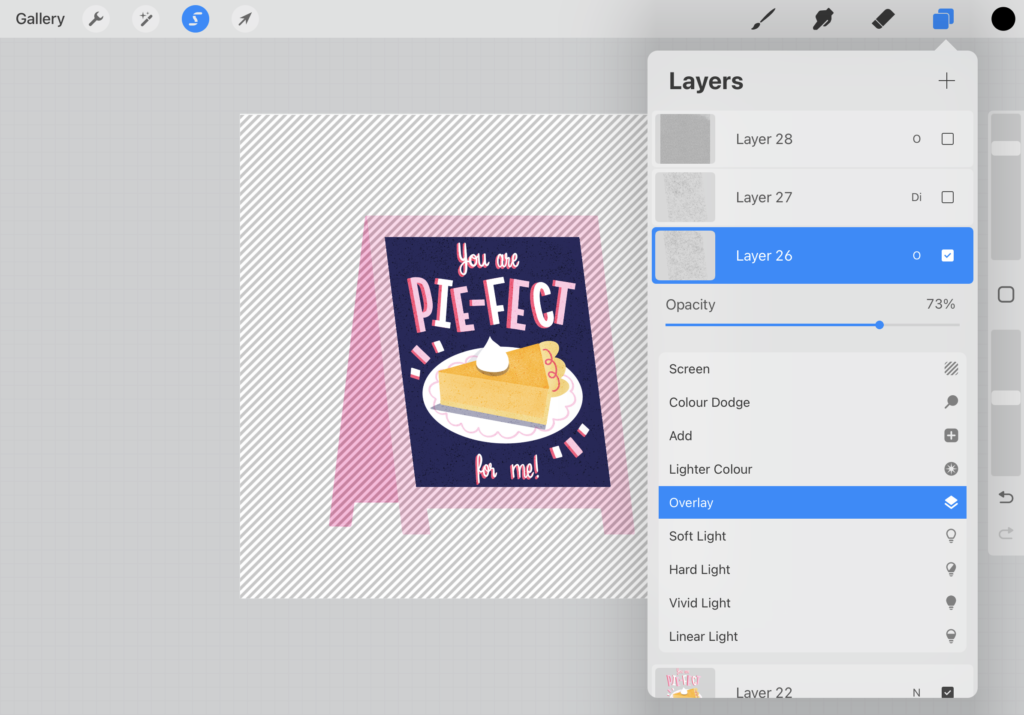
Next, turn the blending modes to ‘overlay’ and ‘divide’. Adjust the opacity to achieve the desired effect. This will give your illustration an aged, chalkboard look.
Related article: Mastering Textures in Procreate: 3 Techniques for Illustrators
Step 9. Finishing touches
With our festive greeting card almost complete, let’s make some final adjustments. Firstly, let’s turn our background back on, and add a light orange to brighten it up. Use the ‘Speckles Shading’ brush to add a texture layer of your entire design (turn the blending mode to overlay and lower the opacity to turn down the intensity).
It helps to step away for a bit before doing a final check here. You can flip your canvas horizontally and vertically, to help you spot errors. This way, you’re not focused on reading the text, but on shapes and colours alone. Don’t forget to add your signature to your piece. Once you’re satisfied, export your design.

Congratulations! You’ve created a festive greeting card in Procreate. Don’t forget to share your work, even if it’s not finished! I would love to see what you create. Tag me here and send me a message: @claire.makesthings. And don’t forget to reach out if you have any questions.
Fun with Puns: Mastering Lettering
in Procreate – Pie Edition
Ready to learn more? This class is about turning your favourite messages and puns into unique illustrated designs!
Are you on Skillshare? Share your work in the student project gallery in my Drawing Puns in Procreate: Short & Sweet Lettering class!