
Want to create a fun, summery project in Procreate? Follow these steps to draw a vintage sardine tin, perfect for turning into a greeting card, sticker, or even a small print. This project is inspired by my Skillshare class on mastering line brushes in Procreate, where we dive deeper into illustrating a full collection of vintage tins. Let’s start!
ReSources
To draw a vintage sardine tin in Procreate, I’m going to use some brushes from my Liner Toolkit, but you can also use default brushes in Procreate. Make sure to download the color palette below to follow along!
🖌️ Get the Liner Toolkit brushes
Step 1. Start with a sketch ✏️ (00:52)
Start with a 2500×2500 pixel canvas in Procreate; this gives you enough resolution to print your artwork later if you’d like.
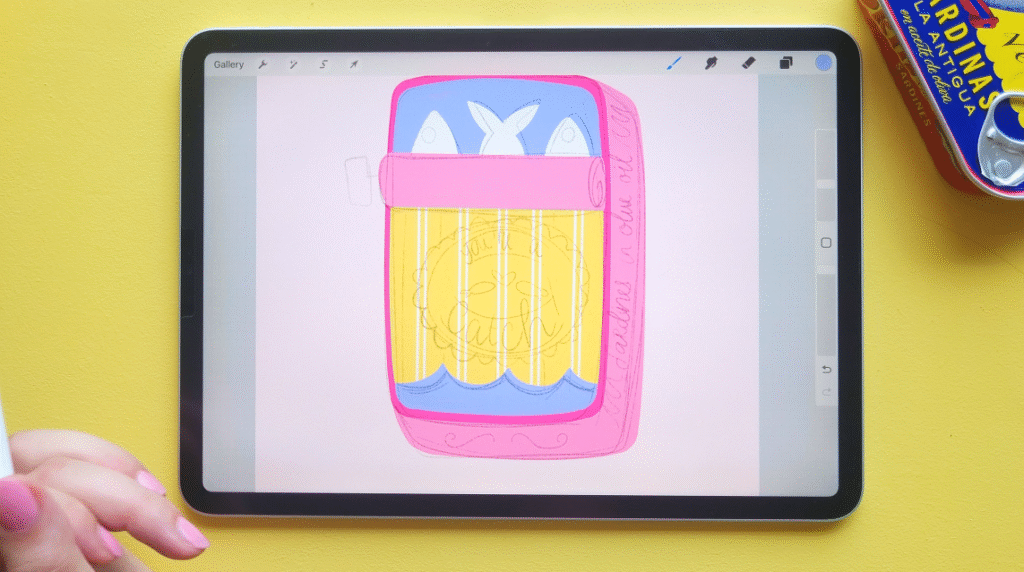
Draw a vertical sardine tin with a slightly opened top using a twisty key. Add three sardines inside, visible through the opening. Include a central oval shape where you’ll place your main lettering later on.
Think of a fun pun or short phrase to add on the packaging; something like “You’re a catch” works great. Keep it short enough to split into two lines inside the oval. You can also sketch small sea-themed elements or patterns around the tin.

Step 2. basic shapes & coloring 🎨 (04:08)
Lower the sketch layer’s opacity and start drawing your shapes on new layers underneath. Use a monoline brush or any smooth brush you like.
Here’s a trick to make a rounded rectangle for the tin:
- Draw a circle in one corner, duplicate it, and move it to the opposite corner with snapping enabled.
- Merge those layers, duplicate again, and move to the other two corners.
- Merge all four and connect them with freehand lines.
Fill the shape with a pink base color, then duplicate and alpha lock the top layer. Recolor it to a darker pink for the tin’s edge. Resize slightly to create a layered rim effect.
Next up: Duplicate your pink base again and recolor it light yellow for the background of your label. For the inner part of the tin, choose a light blue and use alpha lock to color that section in. On a new layer, draw the rolled-up edge of the tin and fill it with pink.
Draw your sardines on a new layer inside the tin using simple shapes. You can reuse or duplicate them for a symmetrical layout.
Step 3. Refine the Illustration ✍️ (05:30)
Now it’s time to clean up and refine your drawing. On the yellow background layer, create a pattern of white lines using a duo or texture brush. Use QuickShape to make your lines straight.
Add a sea element like waves or seaweed on a clipping mask layer above.
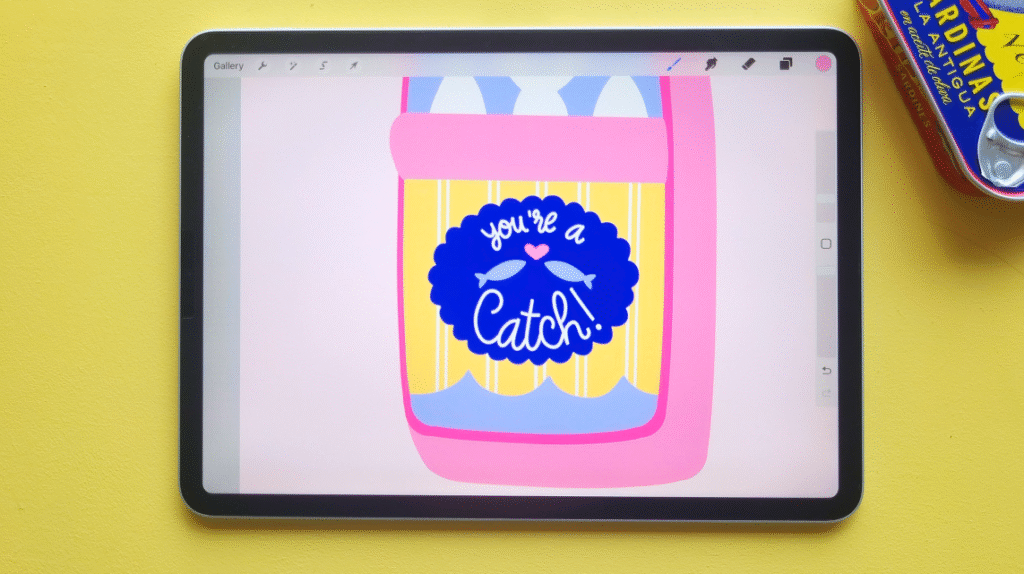
For the oval label background, draw an ellipse and adjust it with the QuickShape tool. Fill it with dark blue and optionally add small decorative ovals around it for charm.
Step 4. Add Lettering 🔠 (11:28)
Integrate hand lettering or type into your illustration. Play with layout, style, and spacing so it feels balanced with your visuals.
Make your sketch more visible (change it to white if needed). Then, on a new layer, use a monoline brush to add your main lettering inside the oval.
- Emphasize key words (like “catch” in “You’re a catch”) by making them larger.
- Use script or block letters—whatever feels comfortable.
- Don’t worry about perfection. Imperfect, handmade lines add personality!
You can also add small motifs, like a tiny heart between sardines, to enhance the layout.
Step 5. Draw Details & Line Work ✏️ (15:38)
With all your main elements in place, begin refining your illustration: Use dark blue and white to add textured lines to sea elements or other decorative parts.
Turn alpha lock on your pink roll layer and add line details with a liner brush.
Related article: 3 Tips for Building a Cohesive Illustration with Lines and Stamps
Add color and details to your sardines; eyes, blush, and line shading using brushes like the Dusty Liner and Retro Liner.
Use the lightest pink to add simple lettering to the side of your tin. This is a great opportunity to play with fun, loose writing. It doesn’t have to be precise; it’s a charming, secondary element.

Step 6. Shade & Texture 🌫️ (20:23)
Bring it all to life with shadows, highlights, and textures. Use an overlay blending mode to add depth and a tactile feel to your digital art. Add a shadow layer underneath your tin using a light color and a soft brush to ground your object. You can also tweak colors or reposition elements thanks to your layered setup.

Step 7. Share Your Work! 📤 (24:50)
And that’s it! This is how you draw a vintage sardine tin in Procreate! 🎨🐟
Export your final artwork and share it online. Celebrate the process and show off your illustration to the world. Tag me on Instagram to share your art: @claire.makesthings
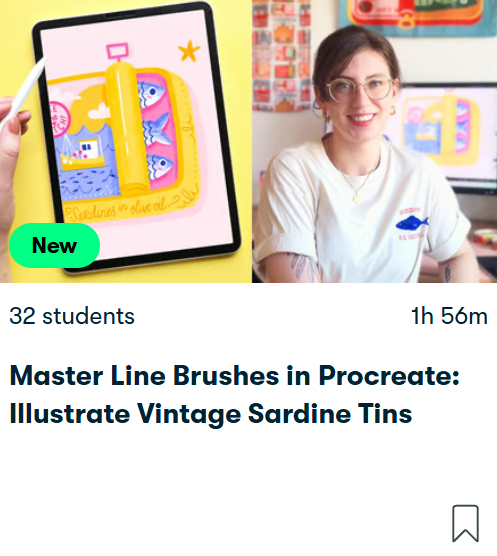
Ready to learn more? Master Line Brushes in Procreate: Illustrate Vintage Sardine Tins
Let’s create a collection of charming sardine tin illustrations in Procreate using expressive lines and textures!
Loved this class! I have seen sardine tin illustrations everything and it was great to have a class breakdown making them. I can’t wait to illustrate my own sardine tin. — LILY