
In this tutorial, I’ll walk you through the steps to create a pun-themed illustration in Procreate. We’ll be using the phrase ‘I love you to Reese’s Pieces’, inspired by Reese’s Pieces, as our main theme. This design will be perfect for a greeting card, but you can easily adapt it for other purposes. Feel free to use a different pun and add your unique twist to the project if you prefer (inspiration below!). Practising this process will help you build up lettering designs and refine your skills. Let’s dive in!
Supplies
- iPad & the Procreate app
- Optional: Procreate brush set (Free download here: Custom Procreate brushes for short & sweet lettering in Procreate)
- Looking for a different pun? The inspiration guide (Free download here)
- Colour palette for Procreate (Free download here)
Step 1. Setting Up the Canvas
Start by opening Procreate and creating a new canvas. Set the dimensions to 2000 x 2000 pixels. This square format is ideal for social media posts and greeting cards.
Step 2. Sketching the Design
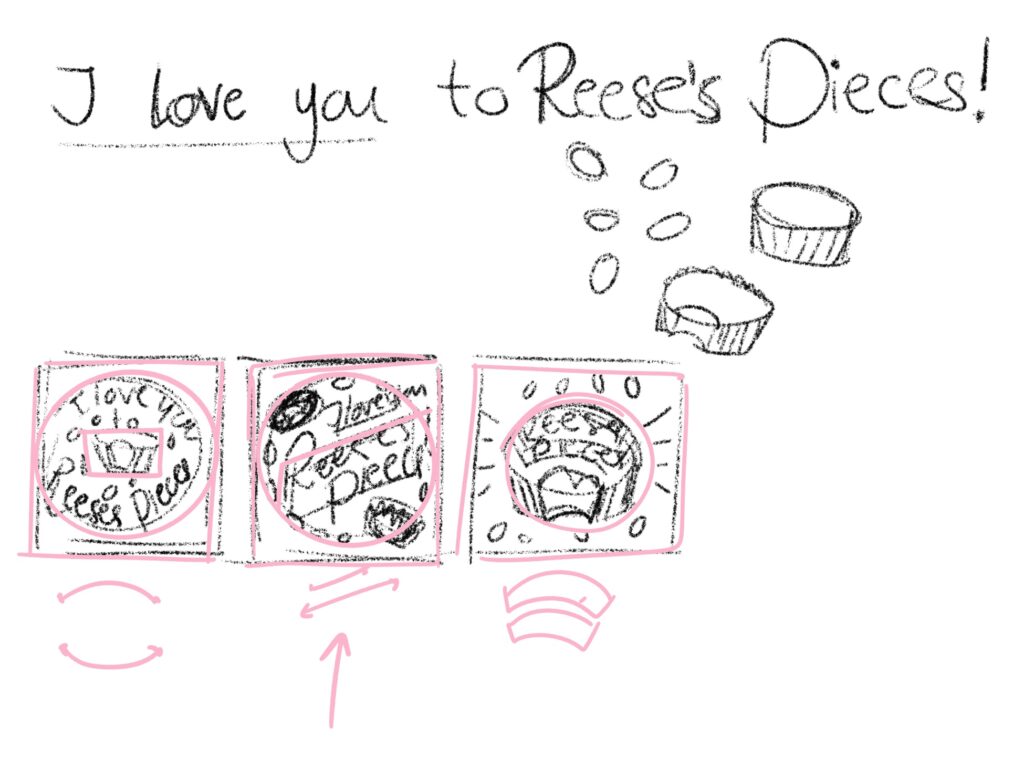
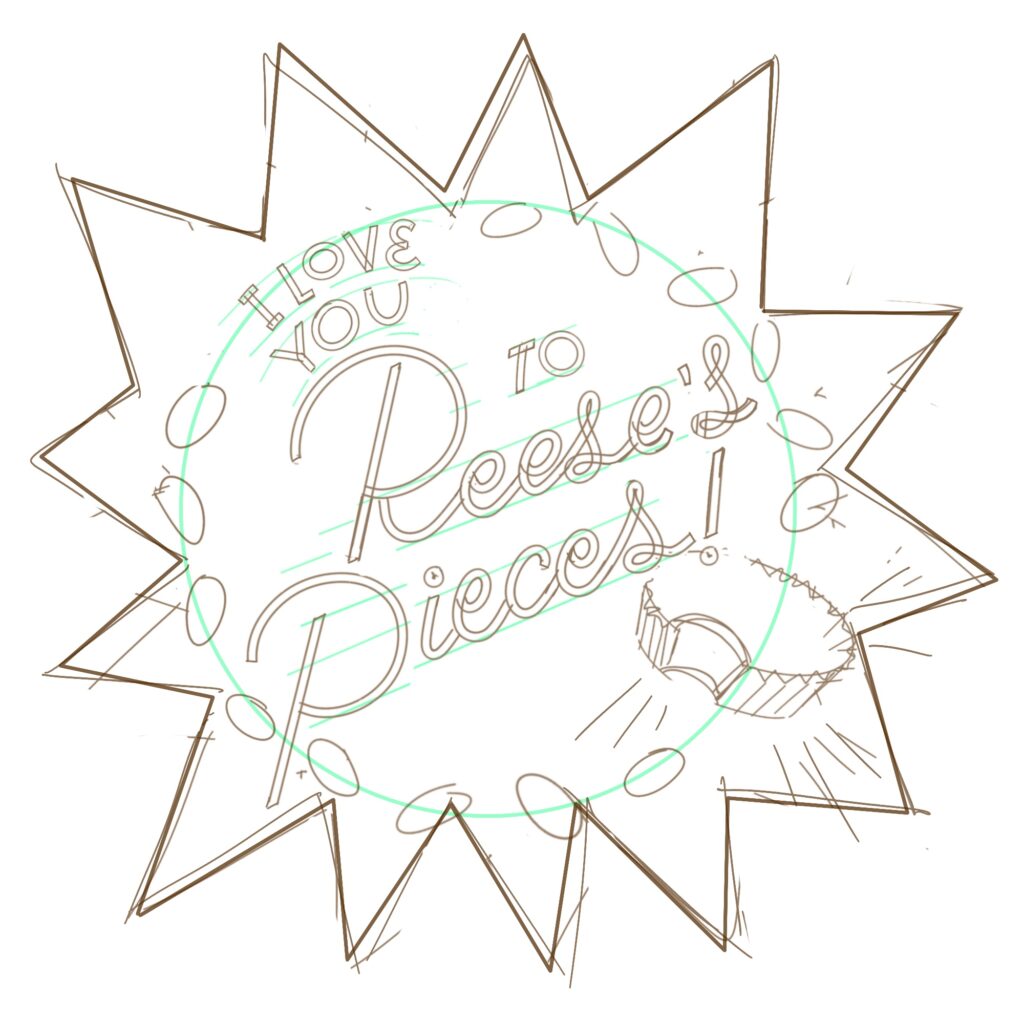
We’ll begin with the phrase, ‘I love you to Reese’s Pieces’, a short & sweet message based on ‘I love you to pieces’. This will make an adorable Valentine’s day card. To make this design fun and engaging, we’ll incorporate the iconic peanut butter cups and small chocolate candies (the actual ‘Reeses Pieces’) into the illustration in Procreate. Start by sketching some thumbnails to explore different compositions (they can be messy, see below!). This will help to see how the text and illustration can work together in one unified composition. Don’t worry if your sketch is a bit rough—this is just the foundation for our final illustration.
Related article: How I Create a Greeting Card Collection in Procreate
You can also try different approaches, like incorporating the lettering directly into the peanut butter cup or using a mix of text and illustration. You can get creative here!
Don’t skip the sketching stage: Start with small, thumbnail sketches to work out your ideas and composition. This will help you come up with different ideas quickly, and make refining a sketch later on much easier. Keep your sketches on a separate layer, and keep them for later. Perhaps these thumbnail sketches could work for other designs later on too.
Step 3. Gathering References and colors
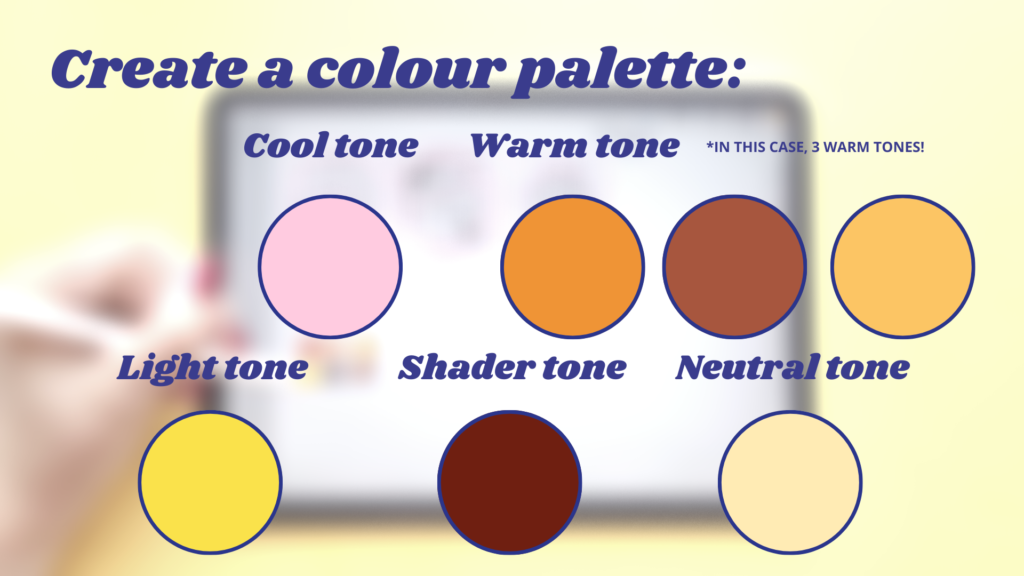
Once you have a few thumbnail sketches, select the one you like best. I’ve chosen a design where the lettering is placed diagonally within a circle, with Reese’s Pieces scattered around it. Gather some images of Reese’s Pieces packaging. so we can use these as references when refining our sketch. I like using Pinterest for this. The color palette we’re using (Free download in the supplies list at the top) is based on the iconic colours of the Reeses Pieces packaging and peanut butter cup. This will help make our illustration immediately recognizable.
If you’re using a different pun or theme, create your own color palette in this step. When choosing your colors, aim for a balance of warm and cool tones, along with light, shaded, and neutral colors. This will give your design depth and contrast. Make sure to use recognizable colours if you want to reference to anything in particular.
Step 4. Refining the Sketch
With your chosen composition in mind, start by sketching the base shapes. I like to add my thumbnail sketch as a reference to the side of the canvas (or in a separate reference window) so I can follow the sketch. Draw a large circle in the centre of your canvas, which will hold the main lettering. Position the words “to Reese’s pieces” diagonally within the circle to create a dynamic composition. The rest of the text, “I love you,” can be smaller and placed above the main lettering. Ensure the letters are evenly spaced and that the overall composition feels balanced.
Next, sketch out a peanut butter cup at the bottom of the circle and add a few Reese’s Pieces around the lettering to help frame our composition. To add some contrast, we’re adding a star shape in the background; that’ll also help to be able to add more layers of colours in the background.
Step 5. finish the Letters
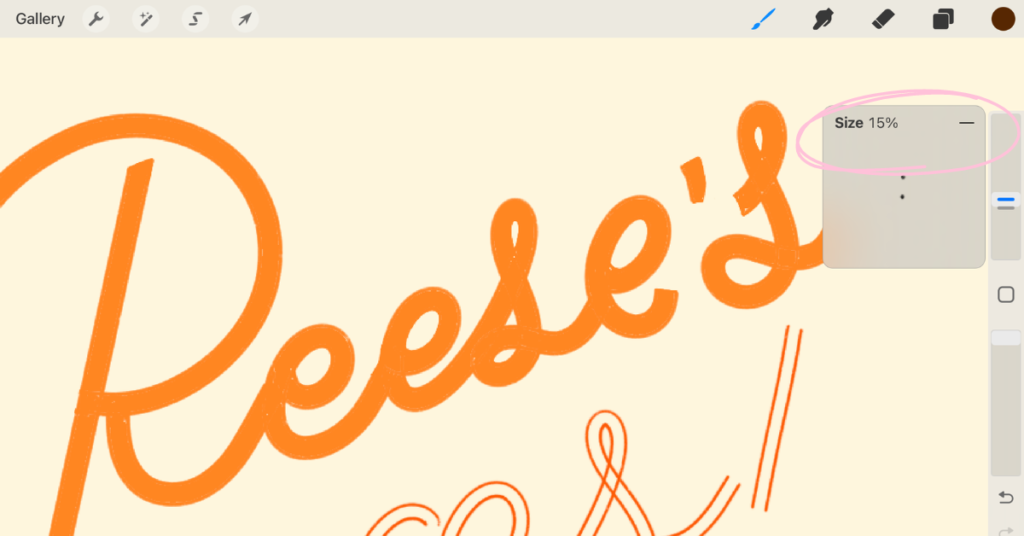
Now that the sketch is almost complete, it’s time to refine our letters. Use the ‘Double Monoline brush’ from the brush set (in the supplies list) for a clean, consistent line in your letters. You can also use a smooth, monoline brush in the Brush Library for this step. Start by tracing over your letters, sticking closely to the guidelines you created. If you prefer, you can refine your sketch further before inking. Remember to keep your lines smooth and even; this will make the colouring in easier.
Save your brush sizes with the brush memory tool: Saving your brush sizes makes it a lot easier to control the line weights in your work and reuse exact sizes if you need to. Having lots of different line weights can become messy, and I love sticking to the same line weights, especially when it comes to lettering.
Related article: Brushes in Procreate: Tips to Improve Your Design Process
Step 6. Adding Color
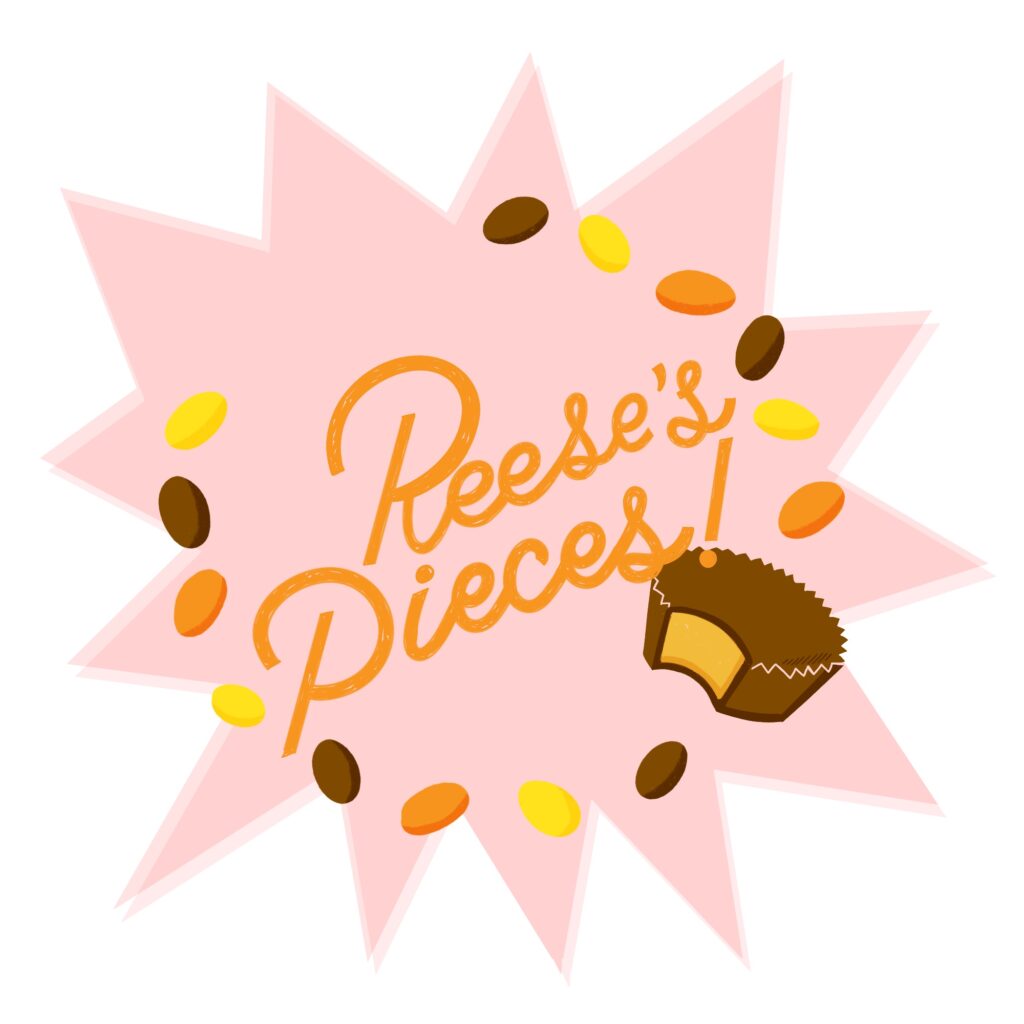
Now it’s time to add color and finish up our illustration. For the background, try a light contrasting color like pink to make the orange letters pop. Place each color on a separate layer to make it easier to make adjustments later if you want to. This will also help with adding textures later in between our layers.
Fill in the letters with the orange from your color palette. Next, color in the Reese’s Pieces with the yellow, orange, and brown tones. For the peanut butter cup, use a darker brown for the outer shell and a lighter brown for the inside.
For colouring your illustration in Procreate, use simple, smooth brushes. Texture can be added later in the form of masks, clipping masks and blending modes. This will make it easier to make changes later if you want to.
Step 7. Adding Shading and Highlights
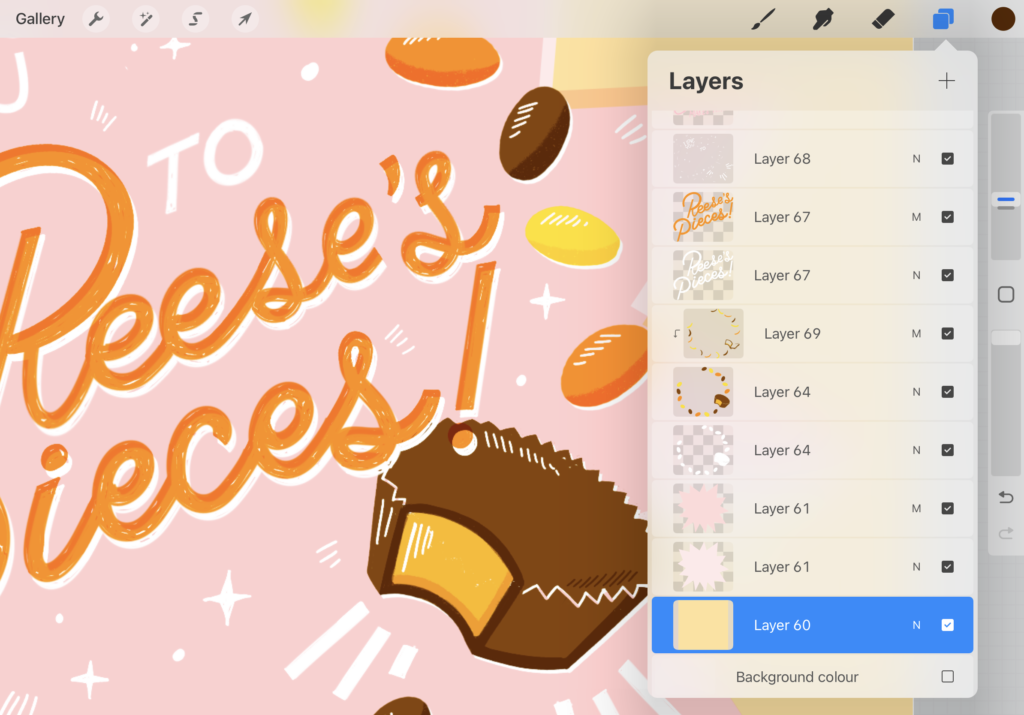
To add depth, let’s apply some shading to your design. Use the multiply blending mode on a new layer and add your shading in the same colour as the layer below (like below). Add white underneath your layers separately, to make them stand out from the background. You can also add highlights by using a white or light color on a separate layer. This will give your design a more three-dimensional look. Fill up the space in between your elements with details to your liking (dots, stars, etc).
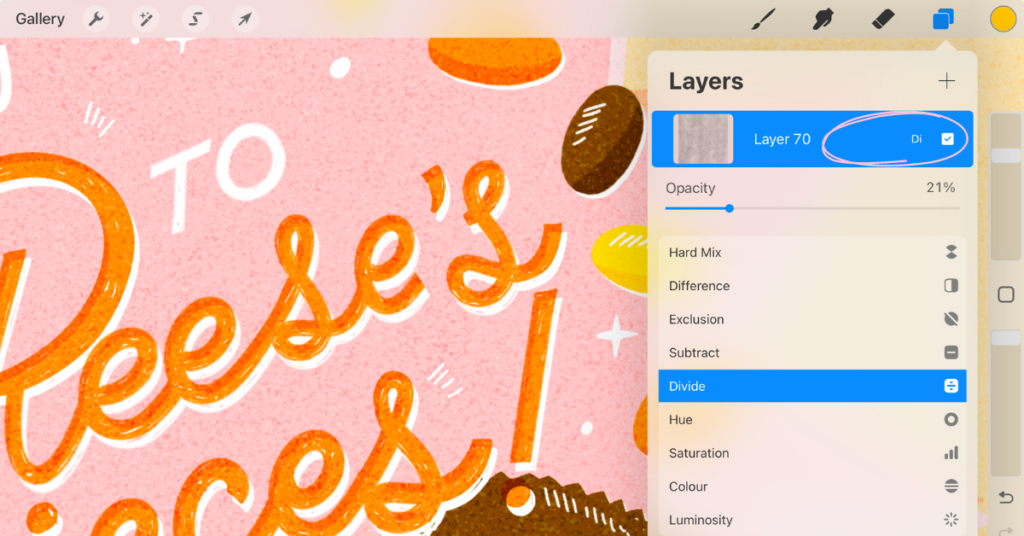
Step 8. Adding Texture
For a final touch, add some texture to your illustration. Create a new layer, apply a grainy or speckled brush, and set the blending mode to overlay or divide. Adjust the opacity to achieve the desired effect. This will give your illustration a retro, aged look that enhances its visual appeal. If you’re printing your pun illustration, this texture will make your print more interesting too.
Related article: Mastering Textures in Procreate: 3 Techniques for Illustrators
Step 9. Final Adjustments and Exporting
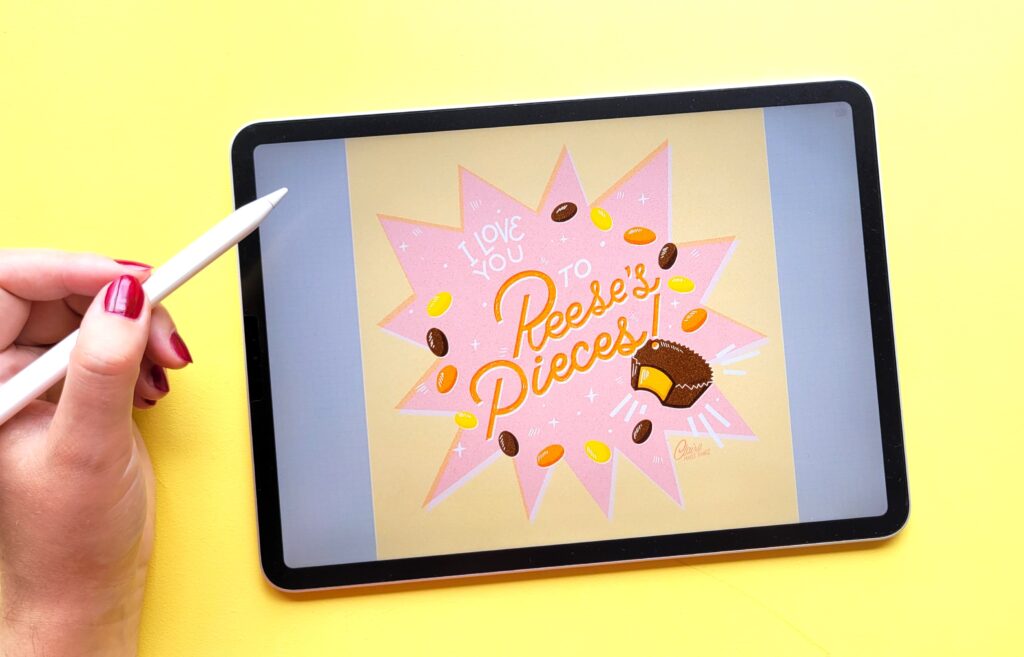
With the design complete, make any final adjustments to the composition or colors. It helps to step away for a bit before doing a final check here. You can flip your canvas horizontally and vertically, to help you spot errors. This way, you’re not focused on reading the text, but on shapes and colours alone. Don’t forget to add your signature when you’re done. Once you’re satisfied, export your design!
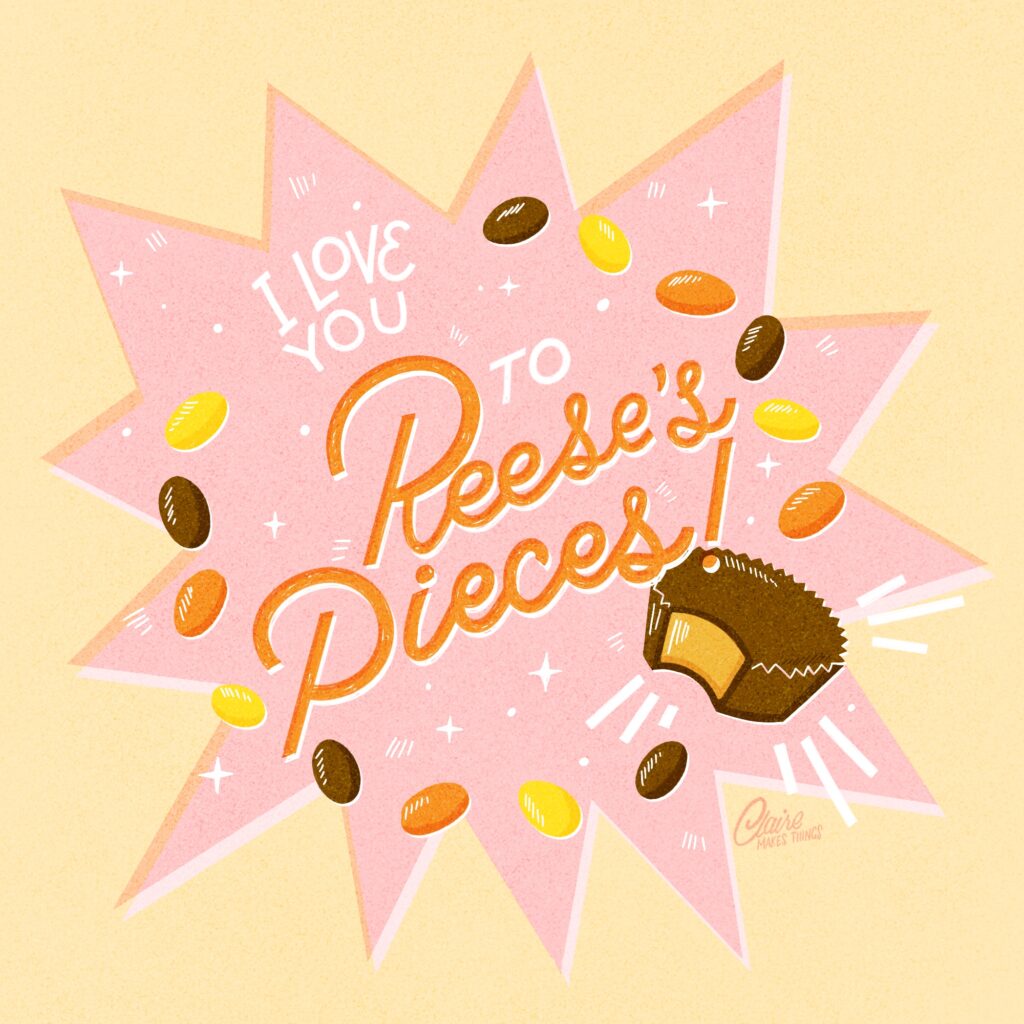
Congratulations! You’ve created a fun, punny Reese’s Pieces-themed illustration in Procreate. Don’t forget to share your work, even if it’s not finished! I would love to see what you create. Tag me here and send me a message: @claire.makesthings. And don’t forget to reach out if you have any questions.
Are you on Skillshare? Share your work in the student project gallery in my Drawing Puns in Procreate: Short & Sweet Lettering class!
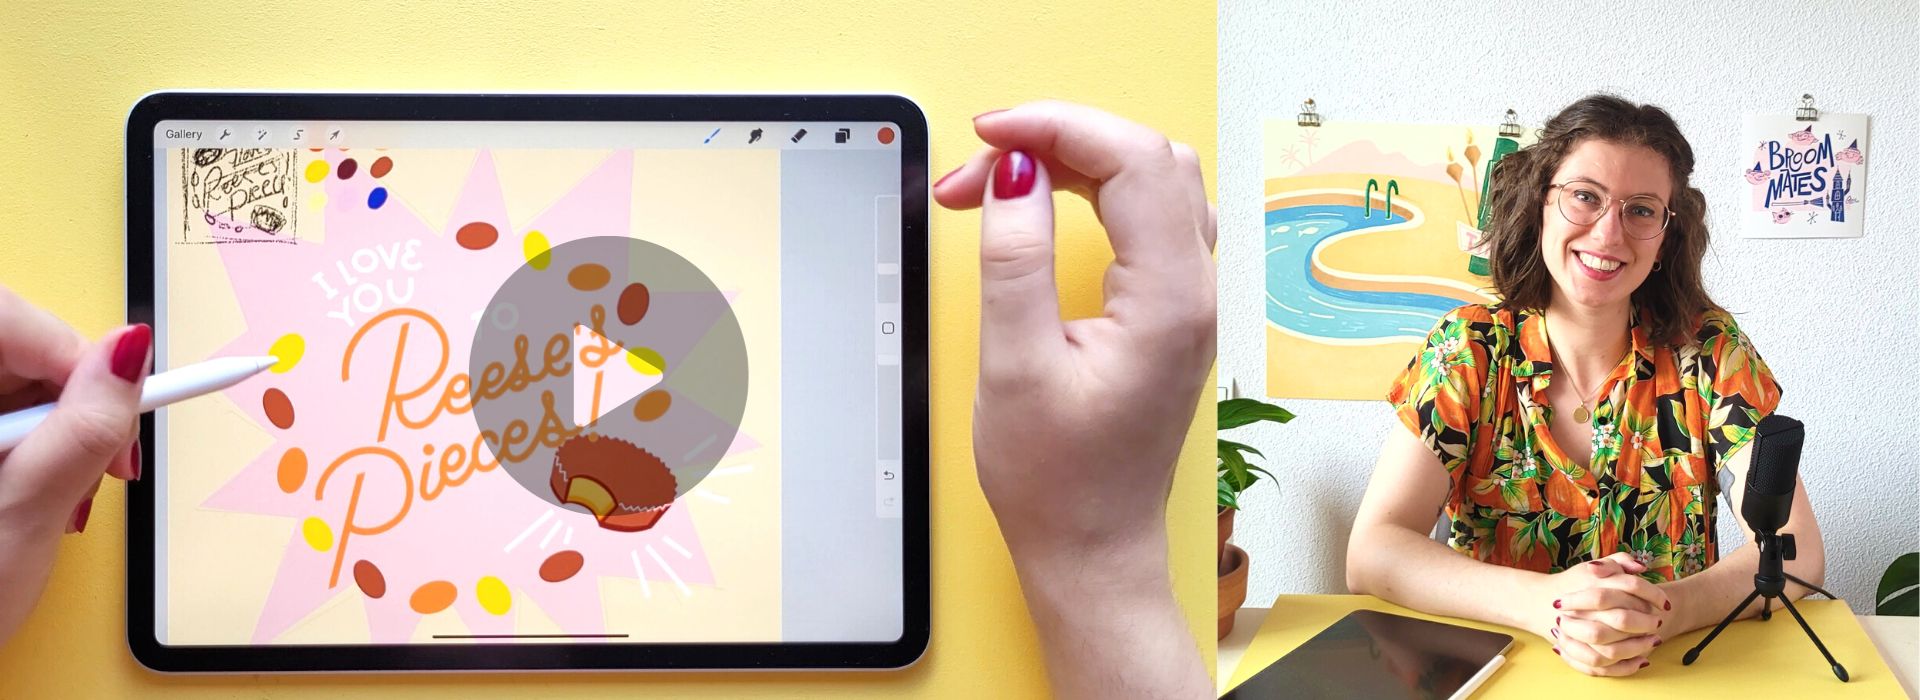
LOOKING FOR THE FULL TUTORIAL?
Sign up to join my free lettering class in Procreate!
GET INSTANT ACCESS
WHAT YOU’LL GET:
A 30-minute in-depth class to improve your lettering skills in Procreate
My 4 Custom Procreate brushes for short & sweet lettering in Procreate
Lots of Procreate tips for beginners & intermediate users
A colour palette to help you get started
Are you a Skillshare member? You’ll find this tutorial in my Drawing Puns in Procreate: Short & Sweet Lettering class too. In this class, you’ll learn a bit more about how to combine lettering and illustration in Procreate in cohesive designs, plus lots of Procreate tips and tricks. Download the resources in the Projects & Resources tab directly!