
In my Skillshare class, Procreate Power Tips: Speed Up and Streamline Your Creative Process, I share techniques that help you get the most out of Procreate, work faster, and avoid unnecessary frustration.
To give you a sneak peek, here are 5 powerful Procreate tips that will boost your productivity and take your digital art to the next level. These tips range from time-saving shortcuts to clever workflow strategies—all designed to help you focus on what you do best: creating!
1. Use QuickMenu for One-Tap Access
QuickMenu is a customizable menu that lets you assign shortcuts to six common actions—like flipping the canvas, selecting brushes, or activating symmetry—accessed with a single gesture. Tap the button in the side-bar to show your QuickMenu.

Why it matters: Instead of diving into menus, you can perform frequent actions in seconds, keeping your creative flow uninterrupted. Useful for setting up your favourite actions, or actions and brushes for a specific project.
Related article: Procreate to Print: 5 Tips for Designing Greeting Cards That Pop
2. Customize Smoother brushes
Under Pressure & Smoothing, in the Preferences in the Actions Menu, you can adjust your Apple Pencils pressure sensitivity, to help you create smoother lines. However, you can also set this up in your brushes, which is my favourite way to use this. Duplicate your go-to sketch or ink brush and increase the StreamLine setting (under Stabilization) to create a smoother version for polished line art or final details.

Why it matters: If a brush feels too wobbly or too stiff, a small tweak in StreamLine (for line smoothing) can make a huge difference. This lets you draw more confidently and quickly—especially useful for inking, lettering, or any clean line work. Saving these as separate brushes makes it easy to switch between the two options when you need to.

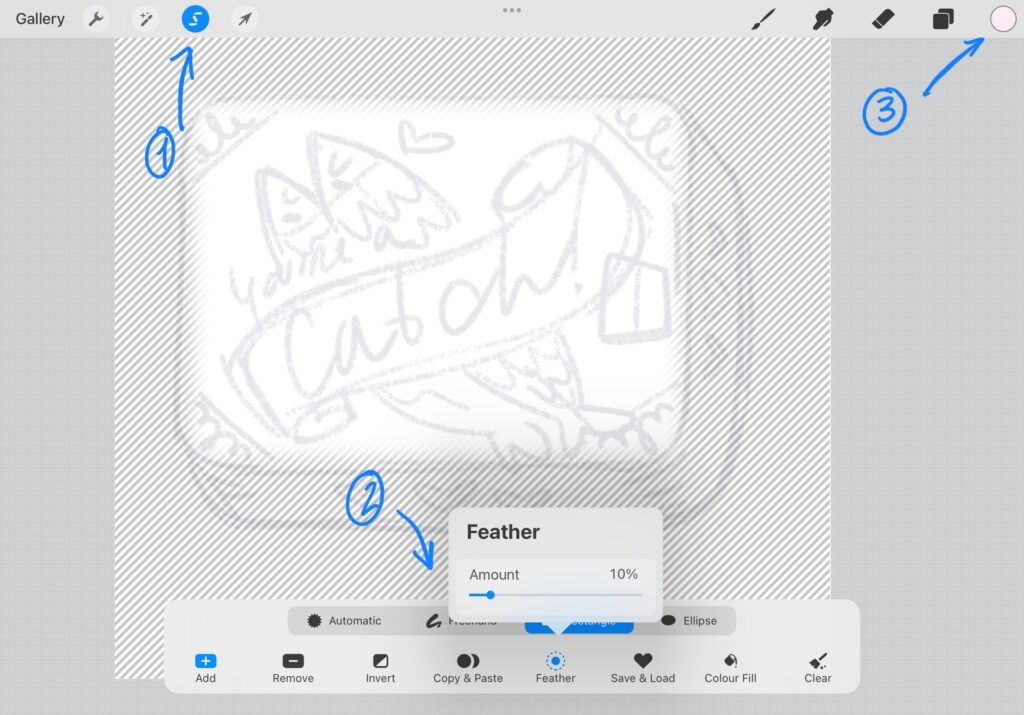
3. Create shapes with round Edges
QuickShape lets you draw perfect shapes, but not with round edges. However, there is a different way to do this. Use the Selection Tool to draw a rough shape, then tap “Feather” to soften the edges before filling it in. You might see slightly transparent edges; just duplicate and merge layers until your shape is filled in.
Why it matters: This is a fast, intuitive way to create organic, rounded shapes without switching to brushes or spending time refining paths. It’s perfect for blobs, shadows, or soft-edged highlights in illustrations.
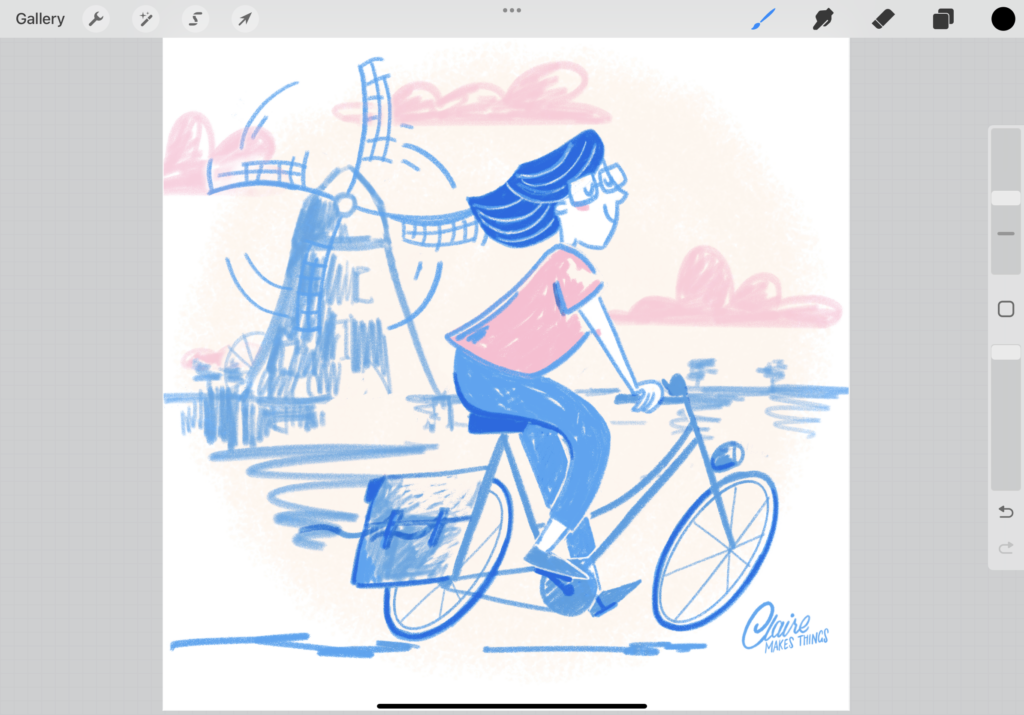
4. Check Values by Turning Your Canvas Grayscale
Add a temporary black layer on top of your illustration, and set the blending mode to ‘hue’ to view your color values. This way, you can see what colors stand out from the rest easily and help you make adjustments to the tones of your illustration.
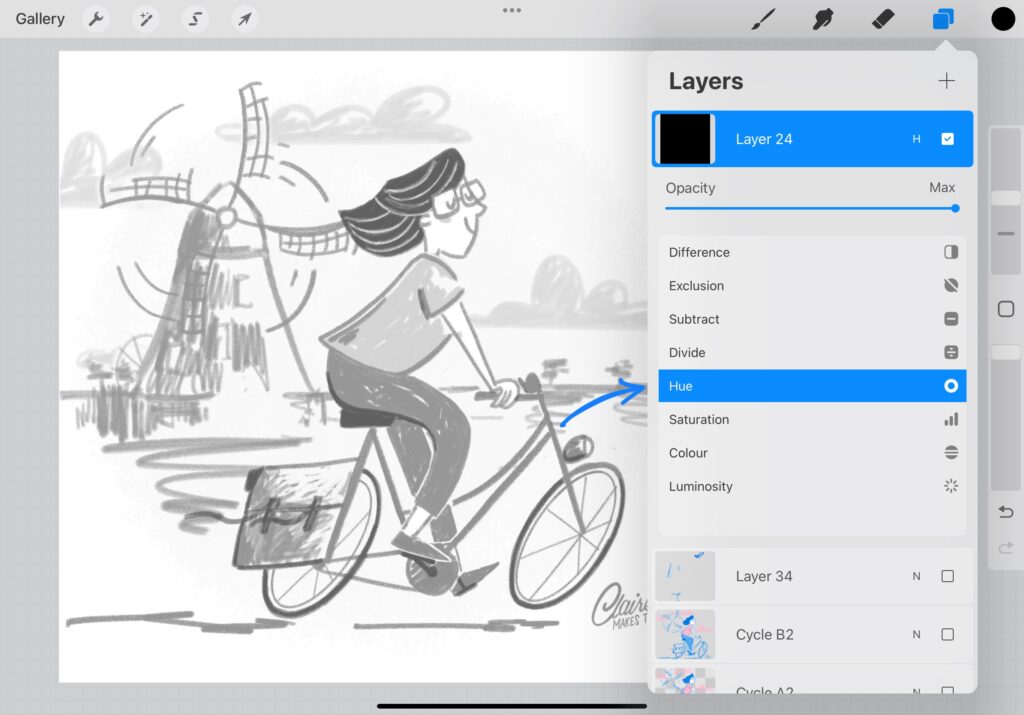
Why it matters: Ensuring your illustration works in grayscale helps you catch contrast issues, making your art stronger and more readable—especially helpful in print or smaller formats.
Related article: Mastering Lettering in Procreate: Answering Your Questions
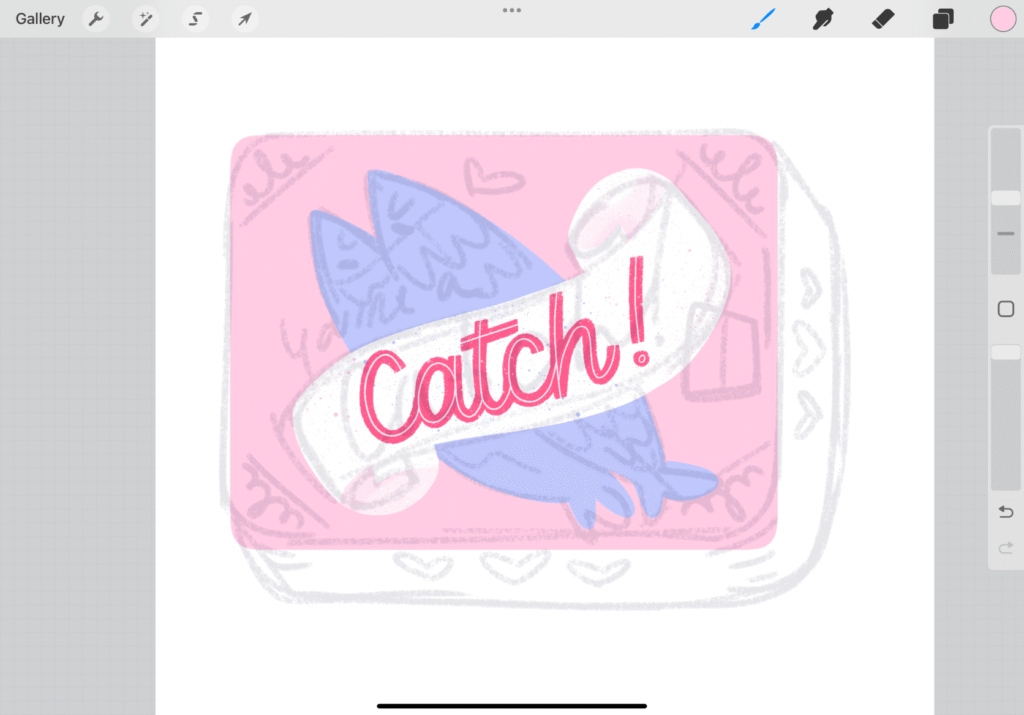
5. Add Clean Outlines for Stickers & GIFs
Create a bold white or colored outline around your design by following these steps:
- Duplicating your artwork layer
- Alpha lock it and fill with white
- Turn off alpha lock
- Use Gaussian Blur in the adjustments menu (set to 10% or so)
- Use Automatic selection and Colourfill to fill the blur
- Now you have an clean outline around your illustration!

Why it matters: This creates a crisp, professional look for stickers or GIFs with transparent backgrounds, helping them pop on any surface.


Ready for more procreate power tips? Speed up & Streamline Your Creative Process
Boost your Procreate skills with powerful tips to work faster, stay organized, and enjoy your creative process more!
This was a really great course, thank you! It’s particularly helpful as Procreate can be a little overwhelming at times. I’ll definitely be back to watch certain parts again as there was so much useful information!
— CLARE