Collecting and making brushes in Procreate can be a lot of fun and give you endless possibilities for your artwork. However, the Brush Library can get quite messy (and it’s frustrating when you have to spend all your time looking for that one brush you once imported in the library). Thanks to a few new updates in Procreate, you can now organize your brushes better and find new ways to use your brushes more efficiently. Keep your brushes organized in Procreate to speed up your workflow with these 4 tips:
1. PIN YOUR FAVOURITE BRUSHES
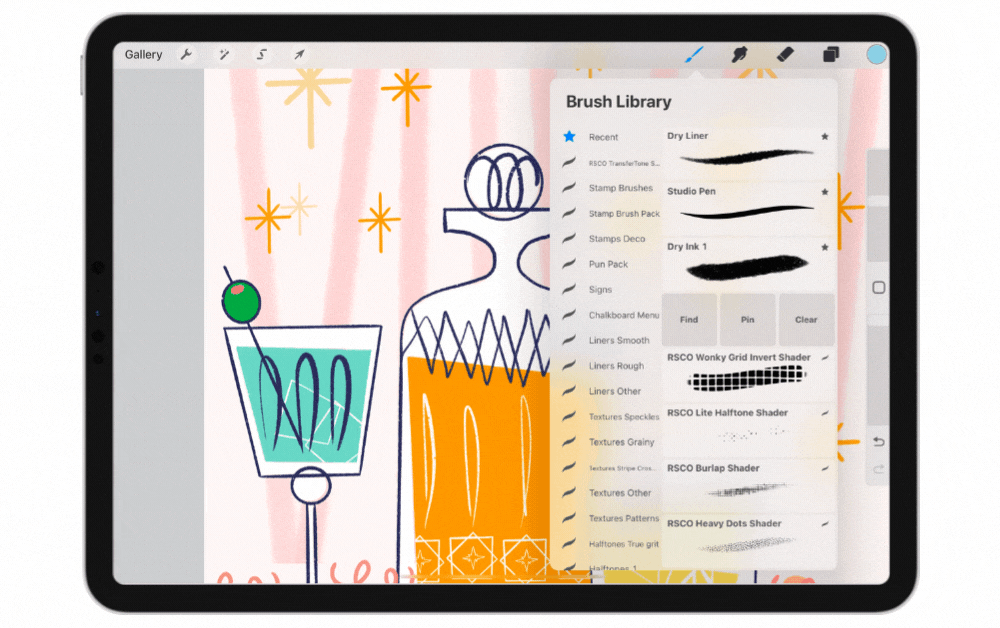
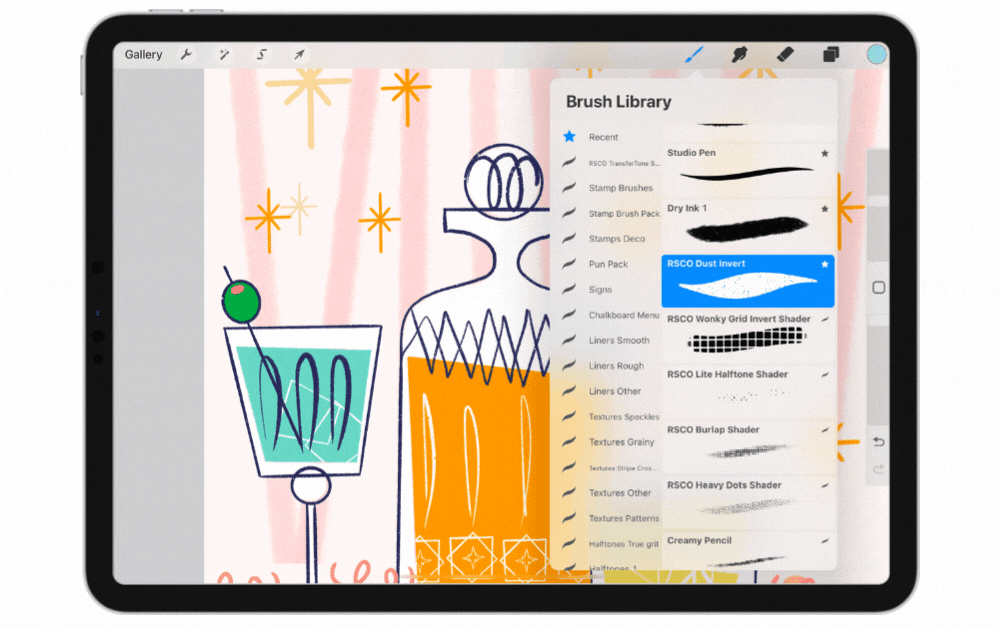
The first tab in the Brush Library, your recent tab (this is a new feature in Procreate 5.2), will save all your recently used brushes (up to 10), so you can jump to your brushes a bit faster. To find the original location of the brushes, swipe left on the brush and then tap the find button. This will take you to that brush’s home set.
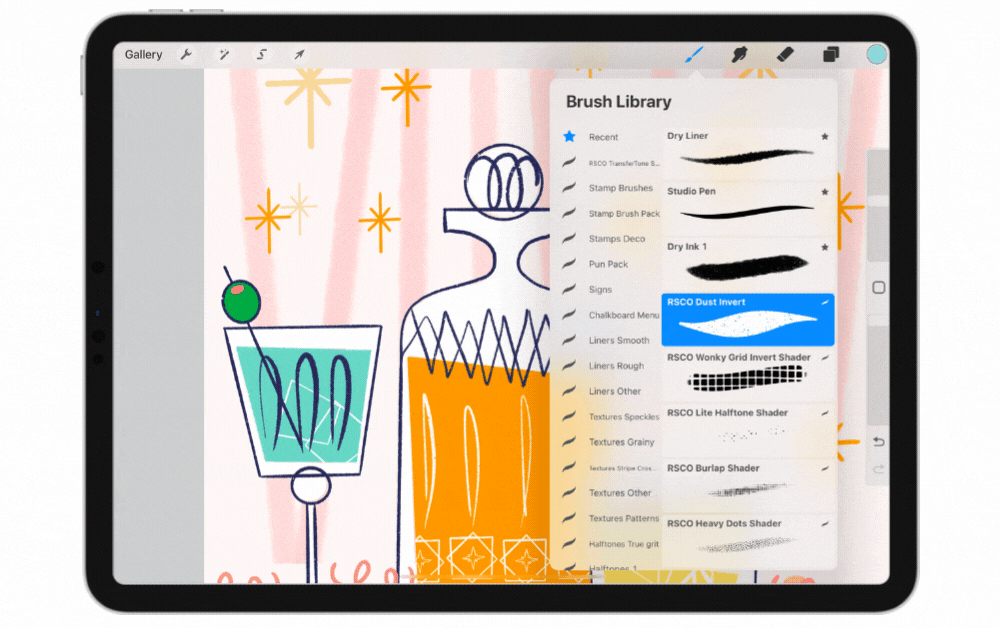
If you use a brush (or a few brushes) often and want to keep them close, you can swipe left on a brush and pin your brush to the recent tab. This way, they’ll stay in the recent tab forever!
I love using this feature for just a couple of brushes I use very often, and it’s a great way to keep them close, without having to look through all the brushtabs.
2. create categories for your brushes
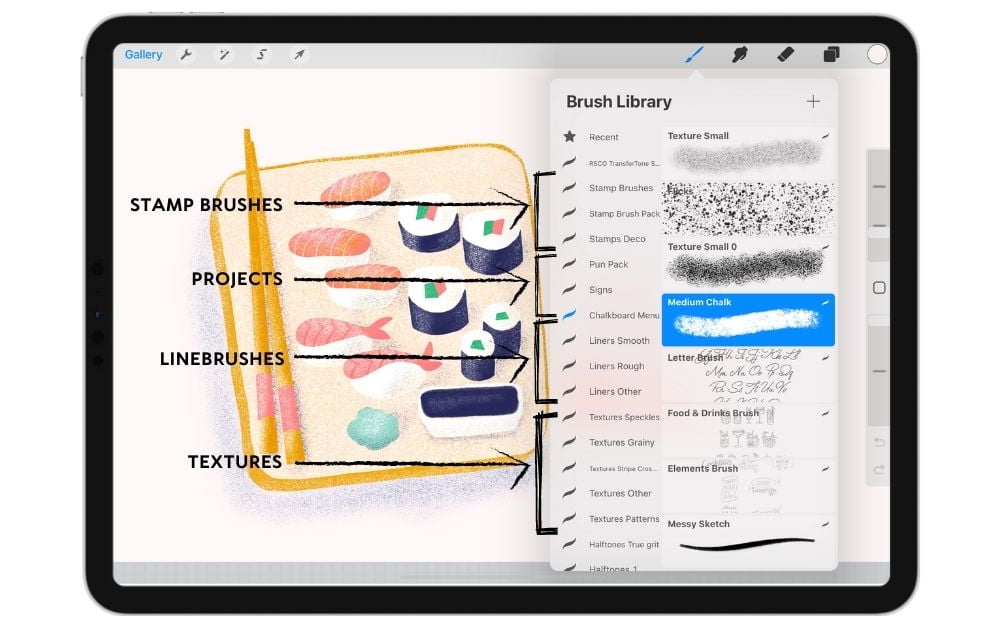
If you love creating new brushes (or import other ones) it’ll help to make separate folders for those. Procreate already organizes their own default brushes in folders, but you might want to keep all your own/imported ones separate. By default, imported brushes will be added to an ‘imported’ tab at the bottom. New brushes will just be added to whatever tab you’re in. To create a new set, tap on the ‘+’ icon at the top of the brush library.
You can categorize your brushes by theme, project, or type of brush. I personally love making stamp brushes, and I organize them by theme. This way, if I’m looking for one brush in particular, I will know in which folder to look.
3. Use reset points before making changes
Keep your brushes organized in Procreate is one thing, but what about the brushsettings themselves? Do you like making adjustments to existing brushes? Don’t forget to set a reset point, so you don’t lose the original settings. Tap on the brush to go to the Brush Studio. In the ‘about this brush’ section, tap on ‘create new reset point’, so you can save your original settings.
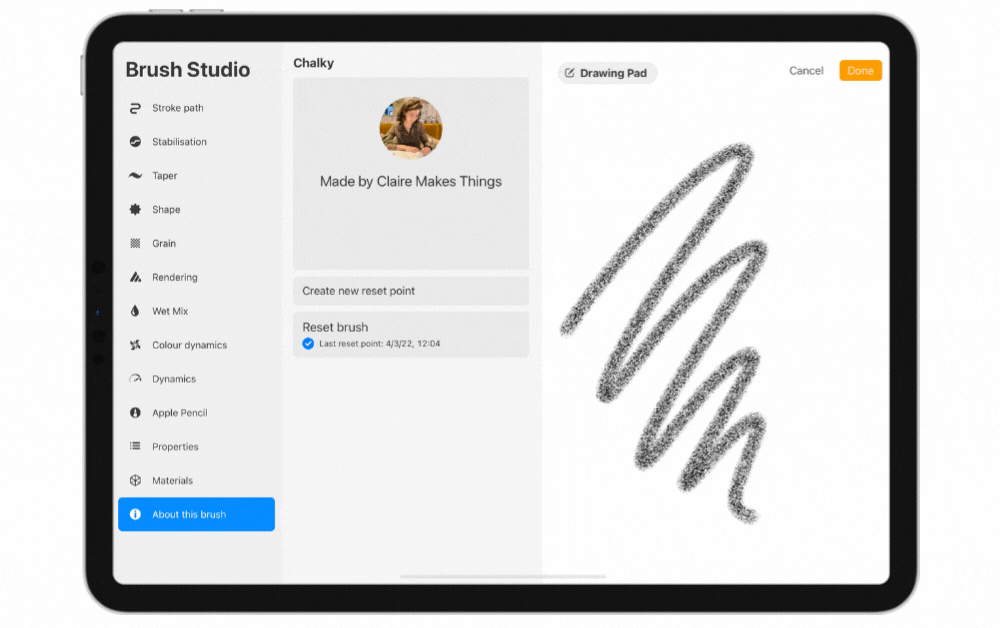
If you ever need the original brush back, tap on ‘reset brush’, and the brush will go back to its original settings.
💡Tip: If you use both brushes (the original, and your adjusted brush) often, you can also duplicate the original, and keep two separate versions.
4. the Brush Memory Tool
This particular update has blown my mind (thank you Procreate 5.2!). The brush size slider allows you to increase and decrease the size (and opacity) of the brush you’re using. If you want to save the exact size and opacity you are using, you can now save this. This means you can have more consistency in your sizes without having to remember what size you were using.
Tap the slider, so the size popup shows. Tap on the plus icon to save the size / opacity setting you’re using; this will add a marker.
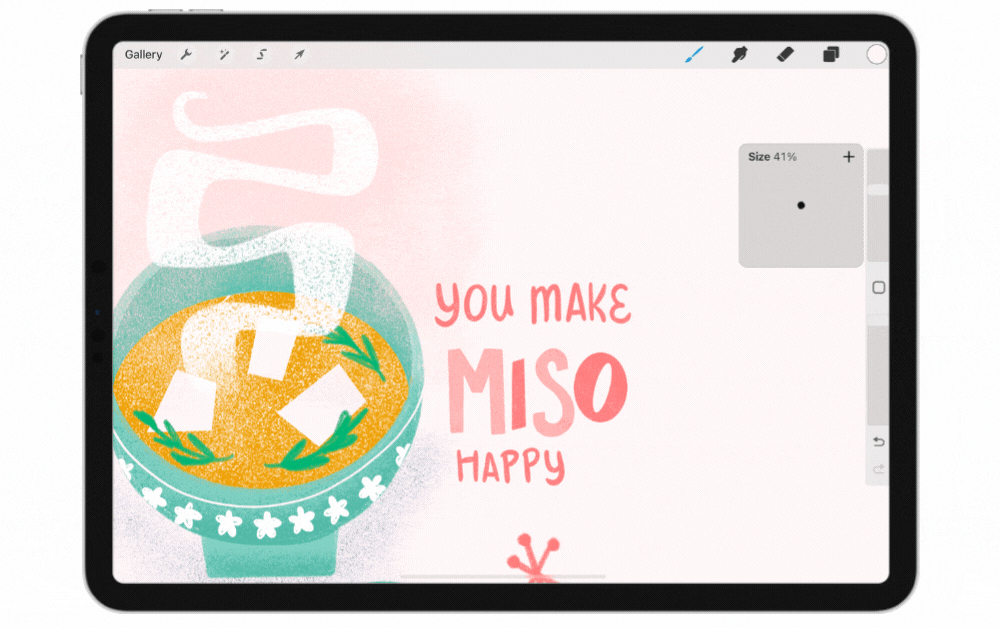
These markers are sort of ‘magnetic’, so as you move and up down the slider, the slider will stick there. The markers are part of that brush; so they’ll stay there as part of the brushsettings. A while back I made a reel about this particular tool, if you’d like to see it in action!
💡Tip: You can add more than one marker on the slider, so you can save multiple sizes and opacity settings. If you want to delete a marker; tap on the marker and tap the ‘-‘.
And you’re all set! These are a few tricks to keep your brushes organized in Procreate to speed up your workflow. They help me make drawing a little easier, less frustrating and more organized in Procreate. They don’t just help speed things up, but also create more consistency in my style.
Do you want a walkthrough of how to play with more brush settings? Check my ‘Making a Still Life with Stamp Brushes in Procreate’ class on Skillshare. It’s all about how to use stamp brushes to improve your designs, while making a still life in Procreate from scratch. We’ll start with the basics of the Brush Studio, so you can easily take this class as a beginner.
Create Your Own Stamp Brushes in Procreate
Learn how to make stamp brushes in Procreate from scratch! Discover the Brush Studio and how to use your stamp brushes in a still life illustration right away.