
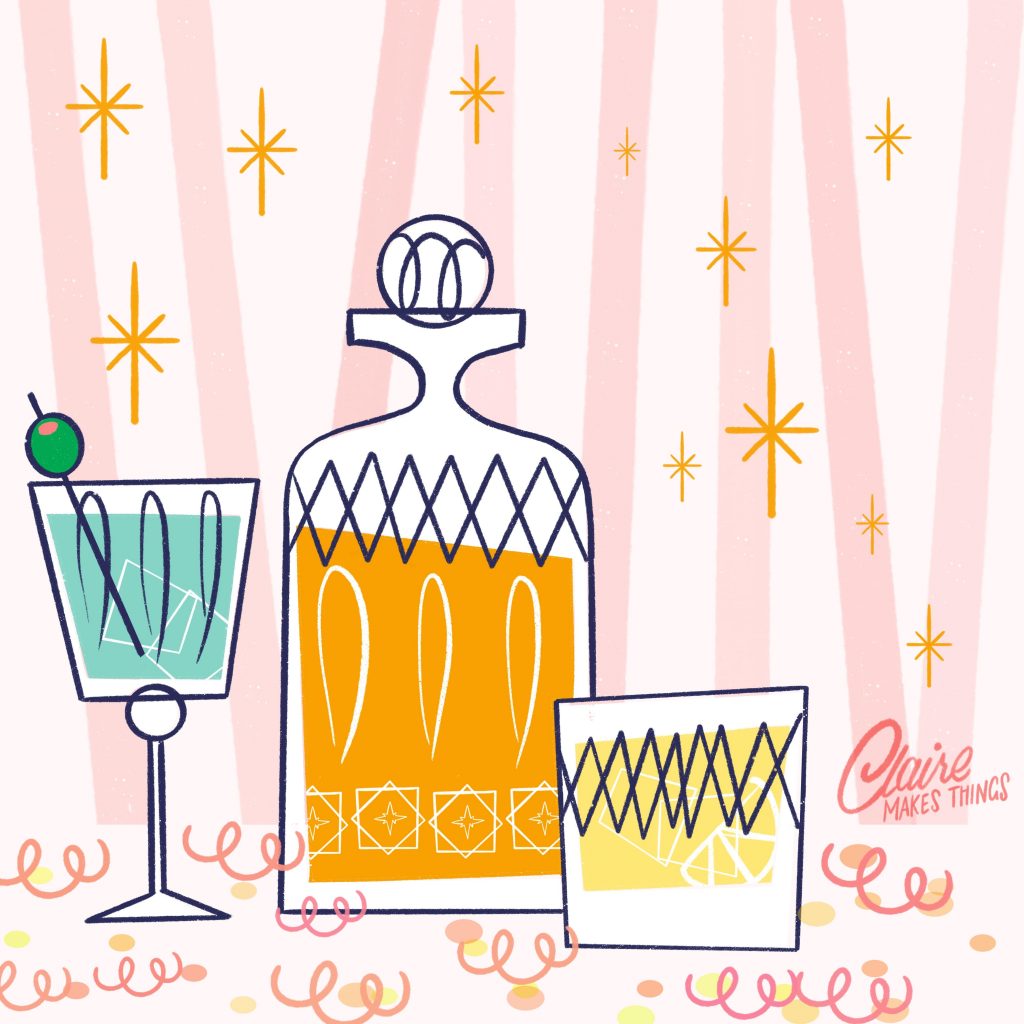
Mastering Retro Still Life Illustrations in Procreate
Drawing an entire still life might seem intimidating at first. But when you break it down into steps, you’ll see it’s perfectly doable. You don’t need to be an expert in everything retro either! In this tutorial you’ll learn how to draw a how to draw a retro still life illustration in Procreate from scratch. We’re going to focus on giving it a mid-century style look, with bold lines and funky shapes.
STEP 1. INSPIRATION for a retro still life illustration
We’re focusing on one era to give our illustration a specific look: Mid-century style. Have a look at the patterns and colours on the Pinterest board to get an idea of what this looks like.
💡 Mid-century modern design (from the 1950s and 1960s) uses geometric shapes and clean but imperfect lines to create bold illustrations. It’s all about turning complex concepts into simple shapes (perfect for simplifying objects in a still life!), with imperfect angles and different textures.
Let’s start by picking a theme for our retro still life illustration and make sure we can start sketching from a reference point. You can either set up your own scene (pick out a few objects, set them up on your desk as a reference to start sketching from) or pick reference photos from the Pinterest board to start with. Let’s pick 1 to 3 objects to keep it simple.

I’m picking a festive ‘cocktail party’ theme for my still life illustration. If you want to follow along, follow the sketch I make. If you’ve picked your own objects; follow the same principles to create a mid-century style still life in your own theme.
💡Tip: Pick a theme for your retro still life illustration and selection of objects you want to draw. Look at:
– Reference photos
-Set up a scene on your desk
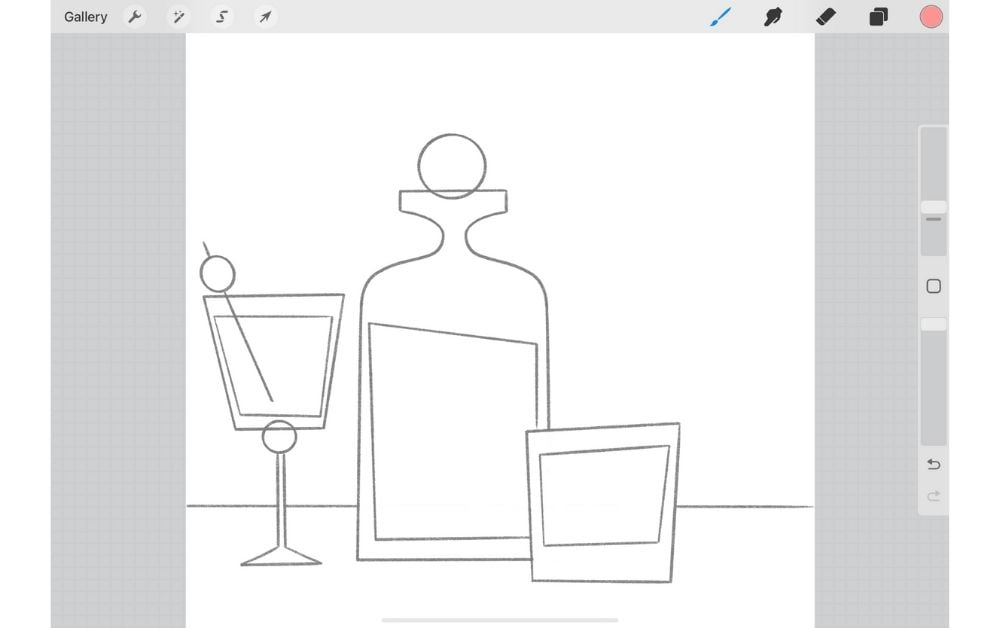
STEP 2. Sketching
Let’s start with a thumbnail sketch, this will allow you to focus on the composition and shapes, instead of the details. Keep it simple! Start thinking in simple geometric shapes. Don’t forget to look at the negative space around your objects instead of focusing on the objects alone.
Next, let’s refine our sketch. We’ll blow our sketch up to the full size of the canvas, and trace it on a new layer, with cleaner lines. This will be the base of our final still life illustration!
Keep this sketch layer separately from your other layers (this will come in handy later!).
💡TIP: To create shapes with straight lines, just draw your shape and hold down with the pencil to make the lines perfectly smooth. Holding down a finger on the screen will create a perfect shape like a circle, rectangle or square.
On a new layer, let’s add details we can add to our still life later on. This will help add some visual interest to your objects and set the scene of your retro still life (patterns in the cocktail glasses, confetti to make it festive). This way, you can also add a few retro details that’ll immediately show what era our scene is set in (funky wallpaper, mid-century style stars).

Resources retro still life illustration
Do you want to follow along with the exact still life illustration I’m making? Download the template here for free! Import the colour swatches into Procreate to use the same colour palette.

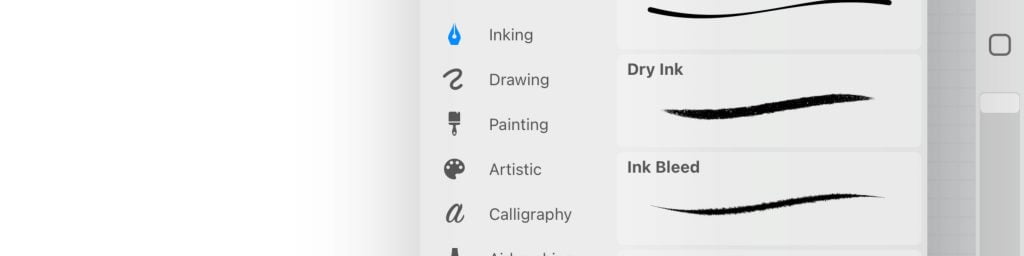
💡Brushes: We’re using one brush in this tutorial to keep things easy. I’m using the Dry Ink brush (find it in the Inking tab). This brush will give our lines a nice texture!
STEP 3. Shapes
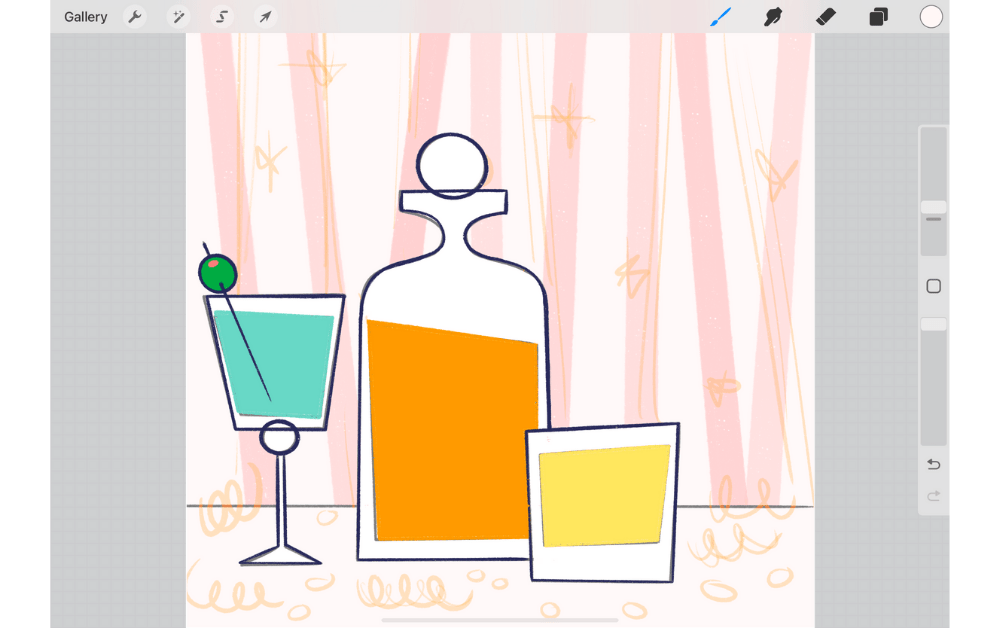
Next, let’s fill in our shapes! So, let’s use a simple color palette; two or three colors for our main shapes will be enough (you can download the colour palette I’m using above or use the Pinterest board for inspiration. Make sure to pick a few light colours and one darker colour). Focus on emphasizing the bold shapes. I’m not filling all the shapes (just the liquid parts of the glasses and bottle). This creates a contrast between the background and the glasses.

💡During the mid-century era artists were often limitted to the amount of colours they could print, since that was expensive. To keep things cheaper, artists used a limitted colour palette and added texture to make shapes more visible.
To fill in the shapes of our retro still life illustration, we’re adding a new layer on top of our sketch layer. Pick the colour for the first shape. Draw your shapes roughly, then hold it, to create a shape with straight lines. At that point, you can still move the shape around and make sure it fits perfectly. Lastly, fill the shape with your chosen colour and repeat with all your shapes.
Keep the background light to create a contrast between the wallpaper and the objects. The background is a very light pink with darker pink lines on top (again, not perfectly straight!), to create a funky wallpaper. Cut the lines off to create the illusion of a table.
Lastly, the parts of the glasses and bottle that are not coloured in, are filled with white. You can easily fill these in by using your sketch layer as a reference (tap on your layer, select reference). This will make sure that the parts you fill in, will show up on a separate layer, without lines:
STEP 4. lines
Now that your solid shapes are filled in, let’s add some detail to your work with line art. Start with the outline of your objects. We’re going to add a dark, bold line around the glasses to make them stand out from the background (I’m using dark blue).
At this point, refer to your sketch to add some fun details to your objects!

💡TIP: Want to add details inside your shapes? Use a clipping mask to draw inside the shapes without drawing directly on your objects (this way you can make changes later).
STEP 5. stamps
The last thing we’ll do is add a few more details around our glasses. To give your still life illustration an immediate retro feel; add a few filler elements. This will also help balance the space around our objects. In this case; classic mid-century style elements, like stars! The confetti and streamers on the table make our still life extra festive and add a bit of depth.
I add these elements by keeping them saved in the brush library as stamp brushes (I use these stamps often for making series and put my signature style in my illustrations). Stamp brushes are individual, reusable shapes that you can use over and over again in your illustrations. This makes it a lot easier to reuse parts and instantly make an illustration feel festive or retro!

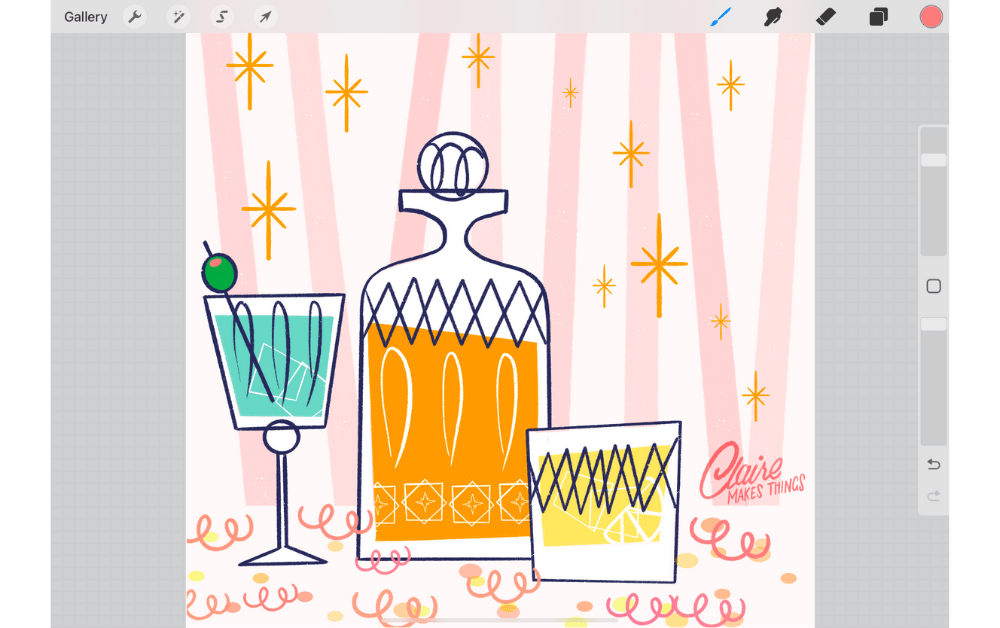
Add the final details and don’t forget to sign your work! This is my way of drawing a retro still life illustration in Procreate.
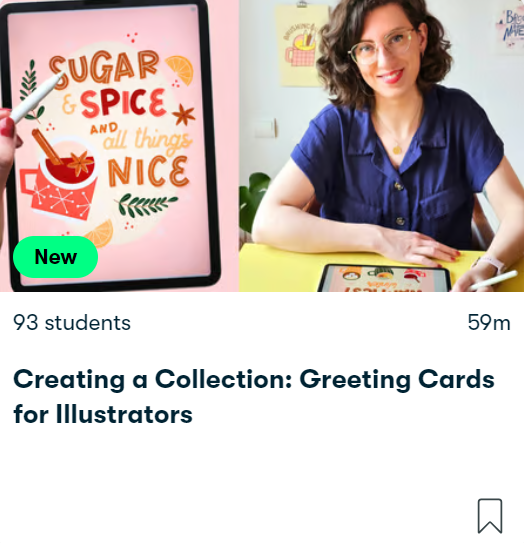
Creating a Collection: Greeting Cards for Illustrators
Learn how to build your mini collection of greeting cards in Procreate, using lettering, pattern design and more!
In this class, I’ll show you my step-by-step process on how to create a collection in Procreate. By the end of this class, you’ll have your own collection of festive greeting card designs, plus a strategy for building your collections in the future.
Lessons include:
- How to scale your ideas and reuse visual elements
- Tips on planning and building your unique designs
- Essential tips on Procreate, composition, printing and more
- An intro to surface design and pattern making
- Tips on how to present your greeting card designs
Great class on starting a small collection of greeting cards with a few nice tips and tricks included as well. I really enjoyed it and I am looking forward to working on my own greeting cards now!
— RHONDA